As of AEM developers, we all know that we can trigger the JSON default rendering by appending a .json extension to a request, which triggers the default Sling GET servlet returning application/json. And of course, we all know about using the infinity selector in combination with the .json extension, which recursively returns the entire JCR structure in JSON format. Our first attempt is likely to attempt to get the formatted JSON from .infinity.json.
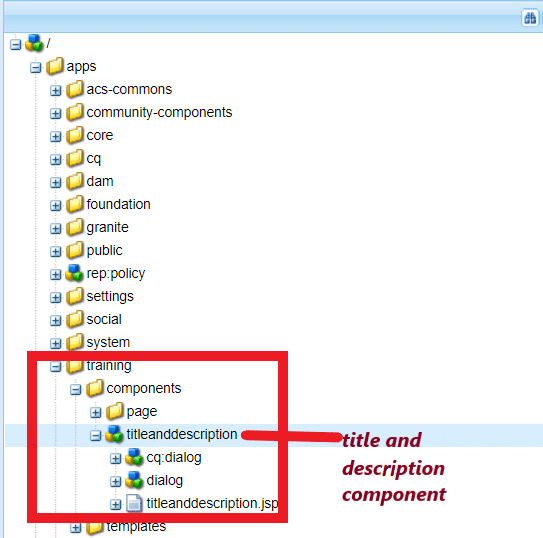
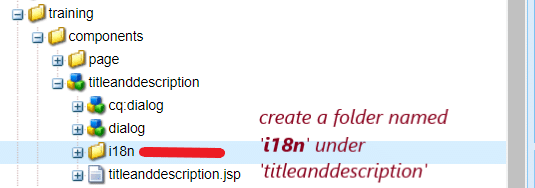
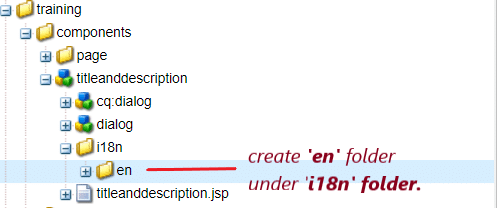
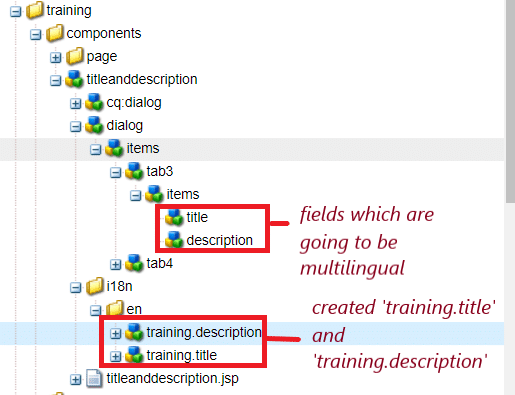
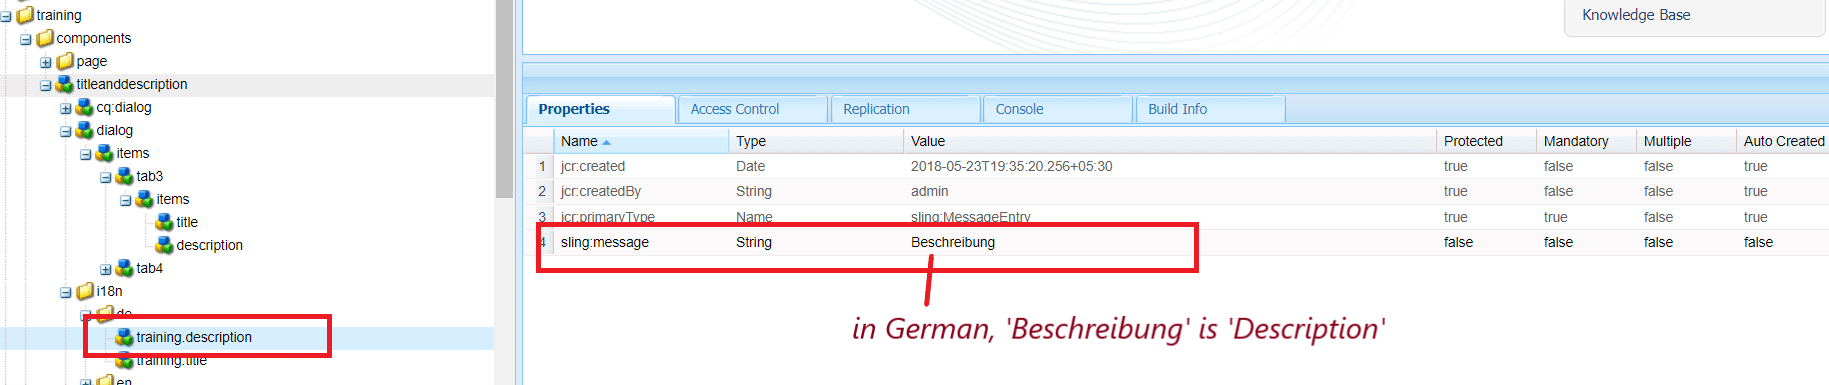
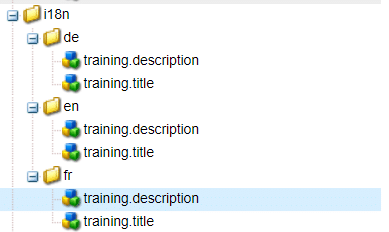
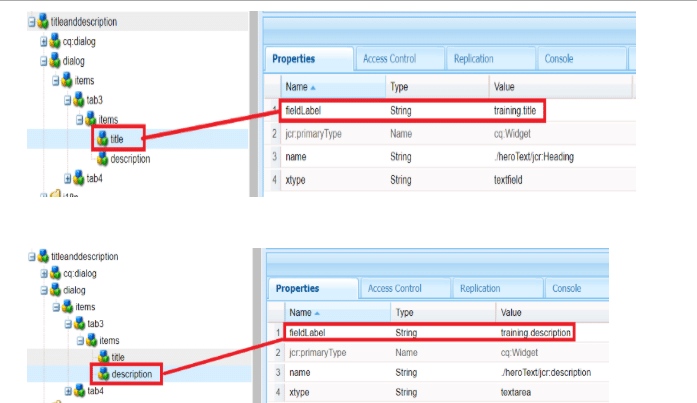
Illustrated below, on the left-hand side, you can see a structured AEM i18n dictionary from the out of the box commerce components library (these nodes should exist in a clean installation of AEM 6.4+). On the right-hand side, you can see the attempt to get a JSON format of this structure, using the selector, “infinity”, and the extension, “json”,
http://localhost:4502/libs/commerce/components/search/i18n.infinity.json.


As you can see, the default Sling GET servlet’s JSON response returns a lot of extra unwanted properties. These unwanted properties will increase the file size of the outputted JSON file, which will impact load time, which will ultimately impact the overall performance of your website. Also, all the unwanted JSON properties will add complexity to consumers, whether it’s a front-end or to a third-party.
In this article, I will share with you a way that I go forward with getting a JSON representation of an AEM i18n dictionary, without the unwanted properties. The solution will make the JSON response from the above AEM i18n dictionary structure, return JSON in this format:
{
sort: "Sort by:",
firstPage: "First",
timelessStatisticsText: "Results {0} - {1} of {2} for <b>{3}</b>.",
lastPage: "Last",
}
Custom servlet to format all AEM i18N structured dictionaries
That’s right. In most of my AEM project implementations, I would introduce a servlet that can be used for all AEM i18N structured dictionaries. It’s very simple.
Requesting on http://localhost:4502/libs/commerce/components/search/i18n.jsonform.en or http://localhost:4502/libs/commerce/components/search/i18n.jsonform.de will return me a JSON formatted AEM i18n dictionary by language, and the JSON response will only include the dictionary keys.
Servlet Request: http://localhost:4502/libs/commerce/components/search/i18n.jsonform.en
Selector: jsonform
Extension: en|fr|de|kr
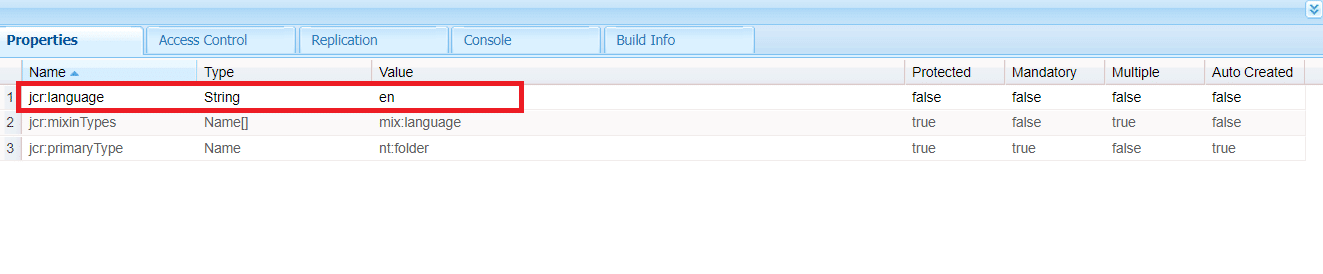
The extension is the target language that you want to receive. For example, if the extension was set for “de”, then the JCR searched would be /libs/commerce/components/search/i18n/de.
Here is the implementation:
HTTP Get Request:
http://localhost:4502/libs/commerce/components/search/i18n.jsonform.en
JSON output:
{
sort: "Sort by:",
firstPage: "First",
timelessStatisticsText: "Results {0} - {1} of {2} for <b>{3}</b>.",
lastPage: "Last",
}


As you can see, the default Sling GET servlet’s JSON response returns a lot of extra unwanted properties. These unwanted properties will increase the file size of the outputted JSON file, which will impact load time, which will ultimately impact the overall performance of your website. Also, all the unwanted JSON properties will add complexity to consumers, whether it’s a front-end or to a third-party.
In this article, I will share with you a way that I go forward with getting a JSON representation of an AEM i18n dictionary, without the unwanted properties. The solution will make the JSON response from the above AEM i18n dictionary structure, return JSON in this format:
{
sort: "Sort by:",
firstPage: "First",
timelessStatisticsText: "Results {0} - {1} of {2} for <b>{3}</b>.",
lastPage: "Last",
}
Custom servlet to format all AEM i18N structured dictionaries
That’s right. In most of my AEM project implementations, I would introduce a servlet that can be used for all AEM i18N structured dictionaries. It’s very simple.
Requesting on http://localhost:4502/libs/commerce/components/search/i18n.jsonform.en or http://localhost:4502/libs/commerce/components/search/i18n.jsonform.de will return me a JSON formatted AEM i18n dictionary by language, and the JSON response will only include the dictionary keys.
Servlet Request: http://localhost:4502/libs/commerce/components/search/i18n.jsonform.en
Selector: jsonform
Extension: en|fr|de|kr
The extension is the target language that you want to receive. For example, if the extension was set for “de”, then the JCR searched would be /libs/commerce/components/search/i18n/de.
Here is the implementation:
package com.sourcedcode.core.servlets;
import org.apache.sling.api.SlingHttpServletRequest;
import org.apache.sling.api.SlingHttpServletResponse;
import org.apache.sling.api.servlets.SlingSafeMethodsServlet;
import org.apache.sling.commons.json.JSONException;
import org.apache.sling.commons.json.JSONObject;
import org.apache.sling.servlets.annotations.SlingServletResourceTypes;
import org.osgi.service.component.annotations.Activate;
import org.osgi.service.component.annotations.Component;
import org.osgi.service.component.annotations.ConfigurationPolicy;
import org.osgi.service.component.annotations.Deactivate;
import org.slf4j.Logger;
import org.slf4j.LoggerFactory;
import javax.jcr.Node;
import javax.jcr.NodeIterator;
import javax.jcr.RepositoryException;
import javax.servlet.Servlet;
import java.io.IOException;
import java.io.PrintWriter;
import java.util.Map;
import static org.apache.jackrabbit.JcrConstants.NT_FOLDER;
import static org.apache.sling.api.servlets.HttpConstants.METHOD_GET;
import static org.apache.sling.jcr.resource.api.JcrResourceConstants.NT_SLING_FOLDER;
@Component(service = Servlet.class, configurationPolicy = ConfigurationPolicy.OPTIONAL)
@SlingServletResourceTypes(
resourceTypes = { NT_FOLDER, NT_SLING_FOLDER},
selectors = "jsonform",
methods = METHOD_GET)
public class JsonDictionaryFormatServlet extends SlingSafeMethodsServlet {
private static final Logger LOGGER = LoggerFactory.getLogger(JsonDictionaryFormatServlet.class);
@Activate
protected void activate(Map<String, Object> properties) {
LOGGER.info("Servlet activated");
}
@Deactivate
protected void deactivate() {
LOGGER.info("Servlet deactivated");
}
@Override
protected void doGet(SlingHttpServletRequest req, SlingHttpServletResponse res) throws IOException {
try {
jsonFormatDictionary(req, res);
} catch (Exception e) {
LOGGER.error(e.getMessage(), e);
}
}
private void jsonFormatDictionary(SlingHttpServletRequest req, SlingHttpServletResponse res) throws RepositoryException, IOException, JSONException {
String language = req.getRequestPathInfo().getExtension();
PrintWriter writer = res.getWriter();
if (language != null) {
Node rootLanguageNode = req.getResource().adaptTo(Node.class);
if (rootLanguageNode.hasNode("i18n")) {
rootLanguageNode = rootLanguageNode.getNode("i18n");
}
Node languageNode = rootLanguageNode.getNode(language);
if (languageNode != null) {
res.setContentType("application/json; charset=UTF-8");
res.setCharacterEncoding("UTF-8");
JSONObject rootObject = new JSONObject();
NodeIterator iterator = languageNode.getNodes();
while (iterator.hasNext()) {
Node languageItem = (Node) iterator.next();
String key = languageItem.getName();
String value = languageItem.getProperty("sling:message").getString();
rootObject.put(key, value);
}
writer.write(rootObject.toString());
} else {
LOGGER.error("{} language is not exist", language);
}
} else {
LOGGER.error("no language have been found in the extension");
}
}
}
HTTP Get Request:
http://localhost:4502/libs/commerce/components/search/i18n.jsonform.en
JSON output:
{
sort: "Sort by:",
firstPage: "First",
timelessStatisticsText: "Results {0} - {1} of {2} for <b>{3}</b>.",
lastPage: "Last",
}
- An example of an i18n served to production-live would be a path that looks like this, /etc/commerce/components/search/i18n.jsonform.en
- Only because, /apps and /libs are reserved areas, which means for security purposes, no one should have access to these areas. Using the /etc path to access dictionaries are fine.