Listeners are functions written in languages like JavaScript (JS) that helps you to trigger various operations with respect to events. These are helpful in situations like client side validations and operations. For example you can trigger a form field validation on submit of a form with a AEM listener.
In this tutorial I will demonstrate simple listeners examples to give you a head start in its implementation.
Question 1: Where to place a listener?
This depends on you actually and also the type of listener that you are writing.
For example a dialog listener is kept in the dialog root level as shown below.

Question 2: How to write it?
This is very simple. A simple listener looks like this.

Question 3: How to find the event method names?
So here I have used the "beforesubmit" event as shown in the picture above.
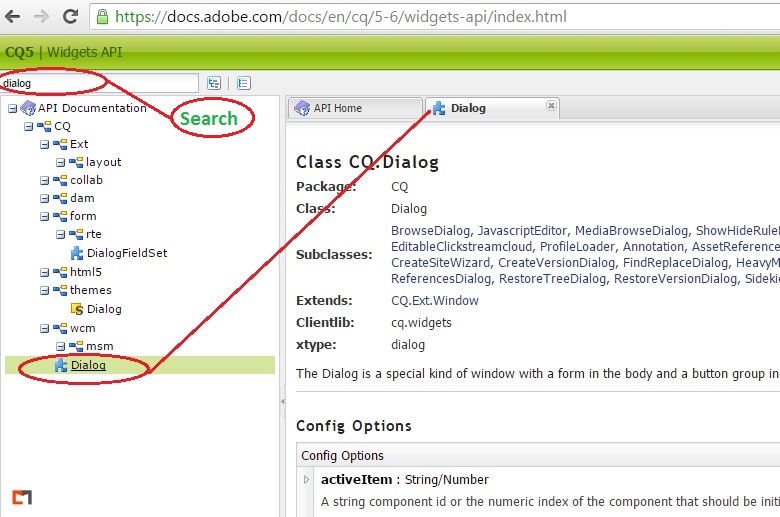
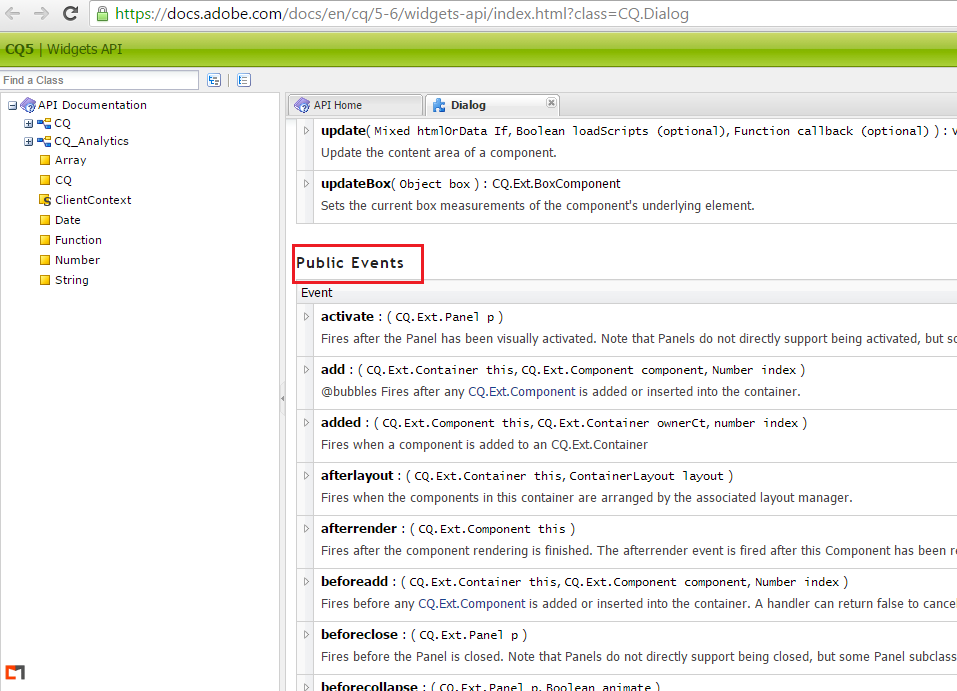
To get a list of events for the particular CQ element just go here AEM Widgets API and make a search for your element.
Now browse down and find the list of Public Events. Use the one you need. Here I have used the "beforesubmit"
Question 5: Lets Try an EXAMPLE...Shall We?
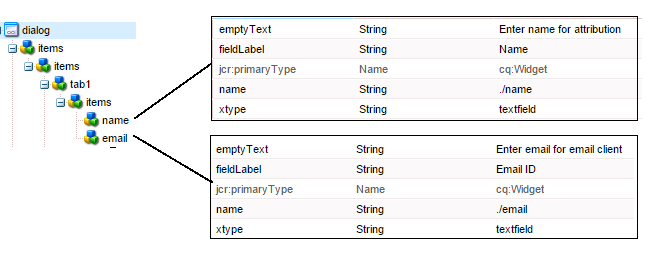
So consider a scenario where we have two fields say name and email.
Requirement:
Lets suppose we have the following requirement.
1.Both fields can be kept empty.
2. If a name is entered then we must enter an email also. That means we cannot have a name without an email address.
Step 1: So to begin with lets create a dialog structure as shown below.
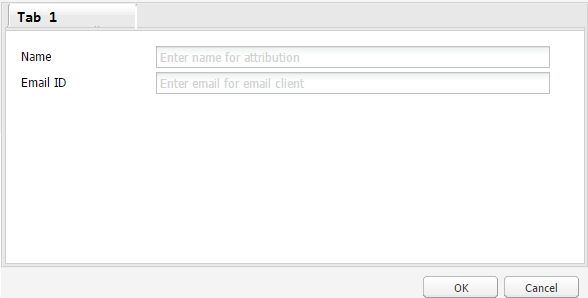
Step 2: Double Click on the dialog. It should look like this.
Step 3: Now create a nt:unstructured node called "listeners" just under the dialog.

Step 4:
Now add a property "beforesubmit"
Choose type as String.
Copy and paste the following code in the value field.
function(dialogObj){
var name = dialogObj.getField("./name").getRawValue();
var email=dialogObj.getField("./email").getRawValue();
if(name.length>0){
if(email.length>0)
{
return true;
}
else
{
alert("If you enter a name, you must enter an Email as well..!!");
return false;
}
}
}
It should look like this.

Step 4:
Now go to authoring mode.
Drag and drop your component and edit it.
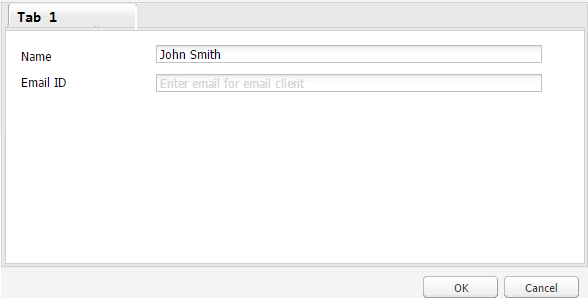
Step 5:
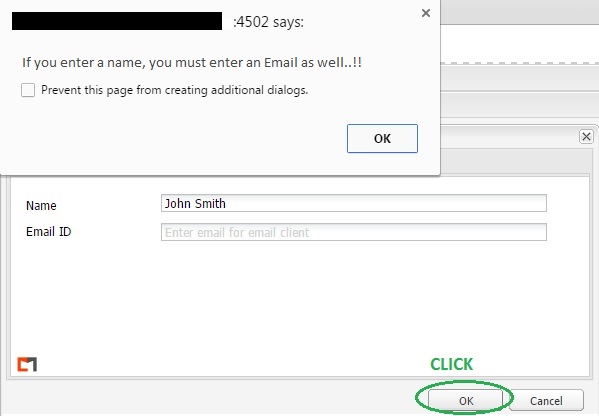
Click on the "OK" button. See the validation kicks in and throws an alert.
No comments:
Post a Comment
If you have any doubts or questions, please let us know.