Here are the steps involved in implementing personalization.
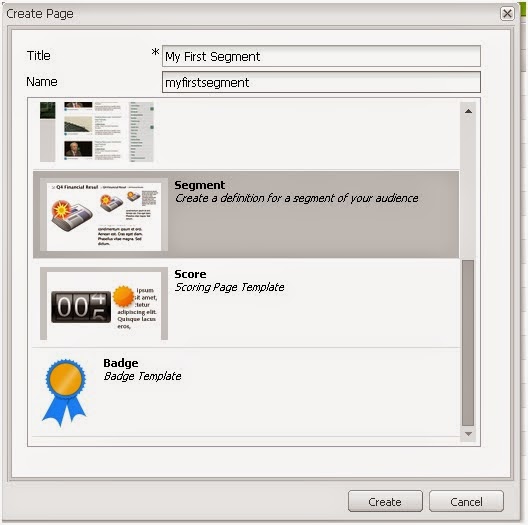
Step1: Create the Segments. (Segments hold the rule to be checked while displaying a teaser on any page)
Go to Tools > Segmentation
Double click on created segment and configure the test condition to be evaluated. For eg: We are going to display the teaser for ‘Male’ users.
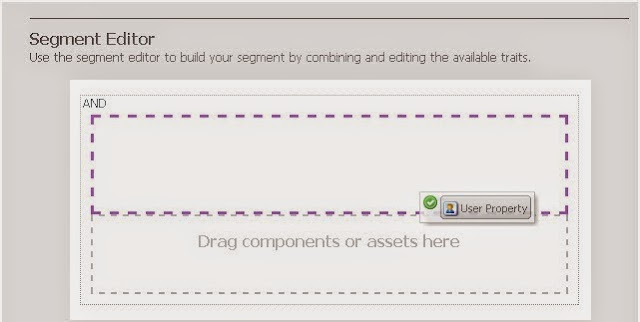
For this, drag the ‘User properties’ from the sidekick.
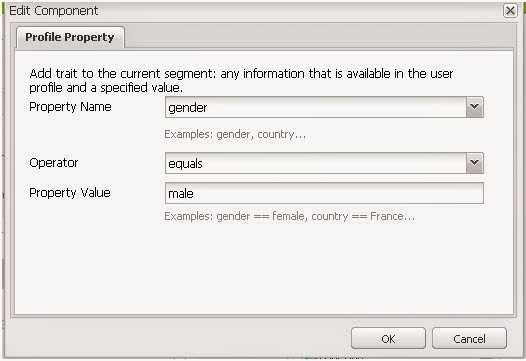
Edit the property to check the condition ‘gender=male’
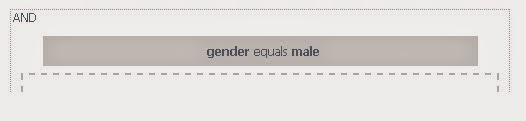
Now the segment will look as below.
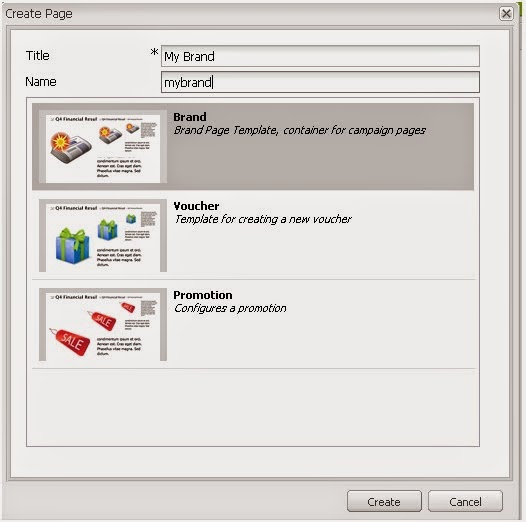
Step2: Create Brand, Campaign Container (Brand holds campaigns, campaign holds teasers)
Once segment is created, Go to > Campaigns (http://localhost:4505/mcmadmin#/content/campaigns)
Create Brand selecting brand template,
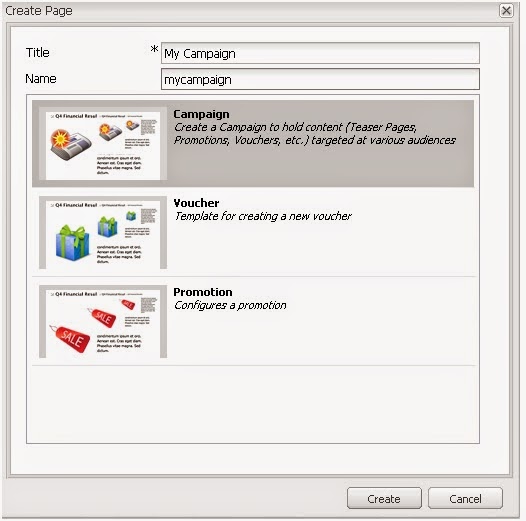
Now create Campaigns by selecting campaign template
Step3: Create Teasers
Once campaign is created, go to lists view and create teasers.
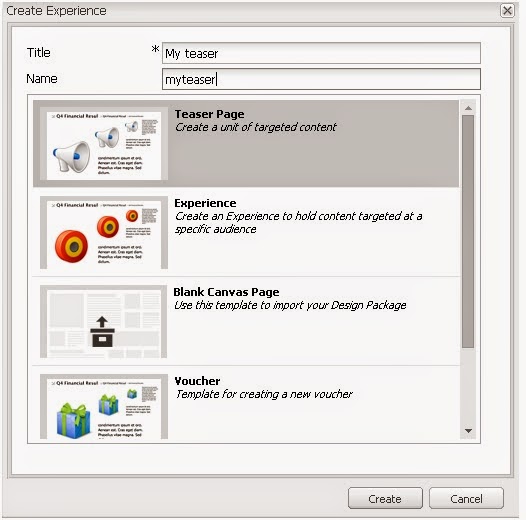
Add some text and image to the teaser by editing it. Sample is shown below.

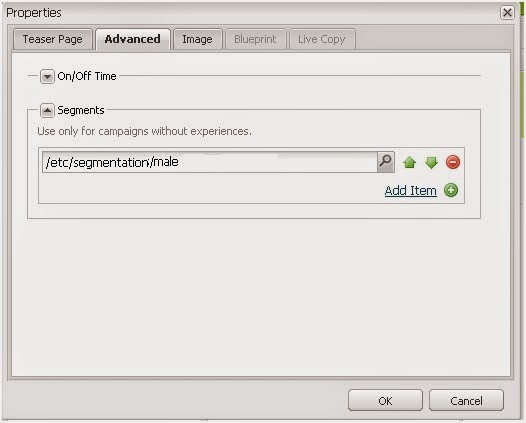
Configure the touchpoint properties of the teaser by selecting the segment in ‘Advanced section's is shown below.
This is the linking point between segment and teaser.
Now the campaign page looks as below.

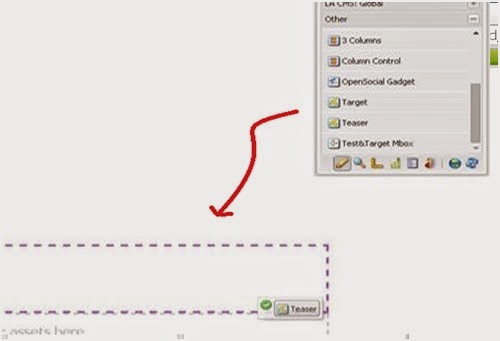
Step4: Add Teasers to any page
Now go to the page where you want to display the teaser, drag and drop teaser
Enter the configuration selecting a campaign to be run for the page as shown below.

Step5: Test the teaser by setting the client context. (Client Context is used to check/modify any user attributes during testing the personalization)
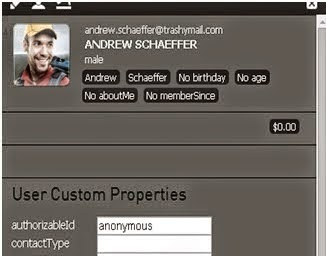
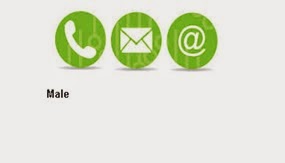
Now go to client context (CTRl+Alt+C) and select a ‘male’ user. You can see the teaser is displayed as shown below.

No comments:
Post a Comment
If you have any doubts or questions, please let us know.