Before we deep dive into how, let’s map a list of activities that one has to do to this procedure. As you are aware, a site in AEM is a collection of cq:pages which has components, and then text authored in those components and referenced images, videos, pdfs from DAM (Assets) etc. When we create a site, what we are essentially going to do is create copy of all of these cq:Pages, including all the references (you can choose if you wish to translate the references as well) first. Then, we will collect all the content (human readable text, images) and send those out for translation, to a translation vendor. Once everything is translated, we will import these back into our AEM site. So here is the flow:
- Create the new language site (new path) and create a copy of the content.
- Send out content for translation from this new path. Usually translation happens outside of AEM, unless you want to machine translate content.
- Import back translated content.
Step1: Create new language site
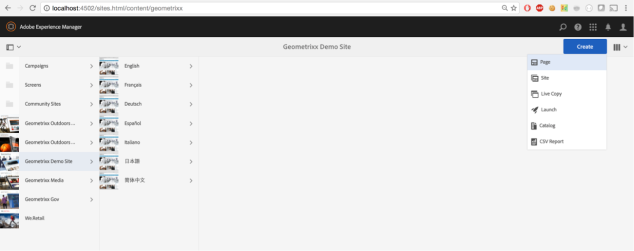
Let us use Geometrixx Demo Site for this exercise. You will observe that the site is already supported in multiple languages. Let’s add a new language – Russian (ru).
- Create language root: In order to create a language copy in a brand new language, you need to first create a dummy page, and name it as a valid ISO language code. So we will create a new page, and name it ru (ISO code for Russian).
- Please ensure that you name it “ru”. Naming it correctly is key

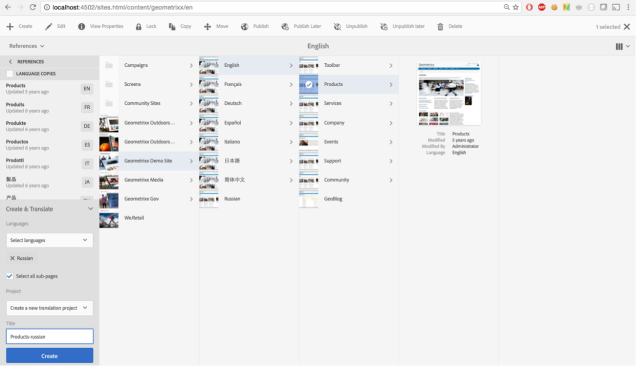
- Once the page has been created, we will go back and select the source (we are just going to select “Products” for illustration) and open References panel and select language copy

- The Language copies shows all the languages in which “Product” page exists. Please note, it does not care about what is under that specific page though.
- Next we will access the “Create Language” option to create “Products” in Russian. To do so select “Russian” from the list of languages. The drop down shows a list of languages that are configured for the site, in which the selected source page doesn’t exist. If you want to create a site in a new language, and don’t see the language in the drop down, first go and add a new language root. As soon as you add a language root, it will start appearing in the dropdown.

- Next, we can choose if we wish to just create the structure or send the content out for translation as well. There are three options:
Create new Translation Project, in this case the content is copied over and additionally sent out for translation as well. For sending out content, we create a Translation Project, which is a special kind of an AEM Project.
Add to existing Translation Project, in this scenario, the content is copied over and is added to an existing Translation Project.
In our case, we are going to create a new Translation Project. Let’s call it “Products-russian”
Send content for Translation
Now that we have created the language copy, as well as created the Project, we will go ahead and send the content out for translation.
- As first steps, we will go to AEM Projects and open up the Products-russian Project

- When you open the Project, you shall see sections – a) Translation Summary, b) Translation job, c) Tasks and d) The Team.

- Translation Summary is where you will set all the translation properties. Be default, AEM ships with “Microsoft Translator” machine translation connector. You can click on the three dots at the bottom and look all the Properties and change them as well.

- Translation Job lists all the content that will be sent out for translation. You can add or delete content in this section.

- Tasks and Team can be configured as well – I shall cover them in a separate post.
- In order to send out content for translation, click on the Translation Job, and select “Start”. The process is completely automated and the content will be sent out for translation.

Import Content back for Translation
The import is completely seamless and integrated. When the content has been translated at the translator end, it comes back in AEM automatically. You will see the Status of the Translation Job change from “Committed for Translation” to “Ready for Review”.

No comments:
Post a Comment
If you have any doubts or questions, please let us know.