Introduction
This will be the first part of Continuous Integration with Jenkins, Artifactory, and Adobe Experience Manager. This part will focus on getting the CI applications up and running in Docker containers so that by the end you’ll be building an AEM project in Jenkins and deploying snapshots to Artifactory. The next part will focus on the deployment and delivery pipeline.
At Code & Theory, we put great stock into building a good delivery pipeline at the onset of every project, whether its AEM, Drupal, or NodeJs. Doing so guarantees a good cadence and helps us meet our delivery times.
We use Jenkins because it is the defacto CI server. The sheer number of plugins and development community keeps it current, unlike the proprietary equivalents. We use the Community Edition of Artifactory because it allows us to host Maven, Gradle, and NPM artifacts. We recommend it to our Enterprise clients because the features it offers outnumber Nexus, and well, it has a prettier UI. Code & Theory appreciates good UX.
Besides using Artifactory and Jenkins, we’ll be setting up GitLab as the SCM. If you want you can skip the GitLab part and have the Jenkins job pull directly from your own SCM. In this tutorial, we are aiming for an encapsulated environment so that you’ll be free to experiment. GitLab has its own CD/CI features, so you can argue that its redundant to Jenkins. While it is worth exploring GitLab CD/CI features, we are only going to use it for its repository hosting. The only reason for using GitLab in this tutorial, was because the Community Edition is free and required no license. The alternative, BitBucket Server, required a trial license.
Prerequisites
Docker
A computer with enough RAM and processing power to run 3 docker containers and AEM
I have a MacBook Pro 16Gb so all my commands are on that platform. You will need to adjust if you are on Windows.
Run the CI applications in Docker
Create docker-compose.yml
Create a new folder called aem-ci and inside of it create a new docker-compose.yml with the following contents.
version: "3.3"
services:
gitlab:
image: gitlab/gitlab-ce:10.8.4-ce.0
ports:
- "8082:8082"
- "522:22"
environment:
GITLAB_OMNIBUS_CONFIG: |
external_url 'http://127.0.0.1:8082'
gitlab_rails['gitlab_shell_ssh_port'] = 522
volumes:
- ./data/gitlab/conf:/etc/gitlab
- ./data/gitlab/logs:/var/log/gitlab
- ./data/gitlab/data:/var/opt/gitlab
artifactory:
image: docker.bintray.io/jfrog/artifactory-oss:6.0.1
ports:
- "8081:8081"
volumes:
- ./data/artifactory:/var/opt/jfrog/artifactory
jenkins:
image: jenkins/jenkins:2.107.3
ports:
- "8080:8080"
volumes:
- ./data/jenkins/home:/var/jenkins_home
Starting The Applications
These applications need a little config when you first fire them up, such as setting an administrator/root password.
Start GitLab
Run the command docker-compose up -d gitlab. Wait a couple of minutes for it to initialize.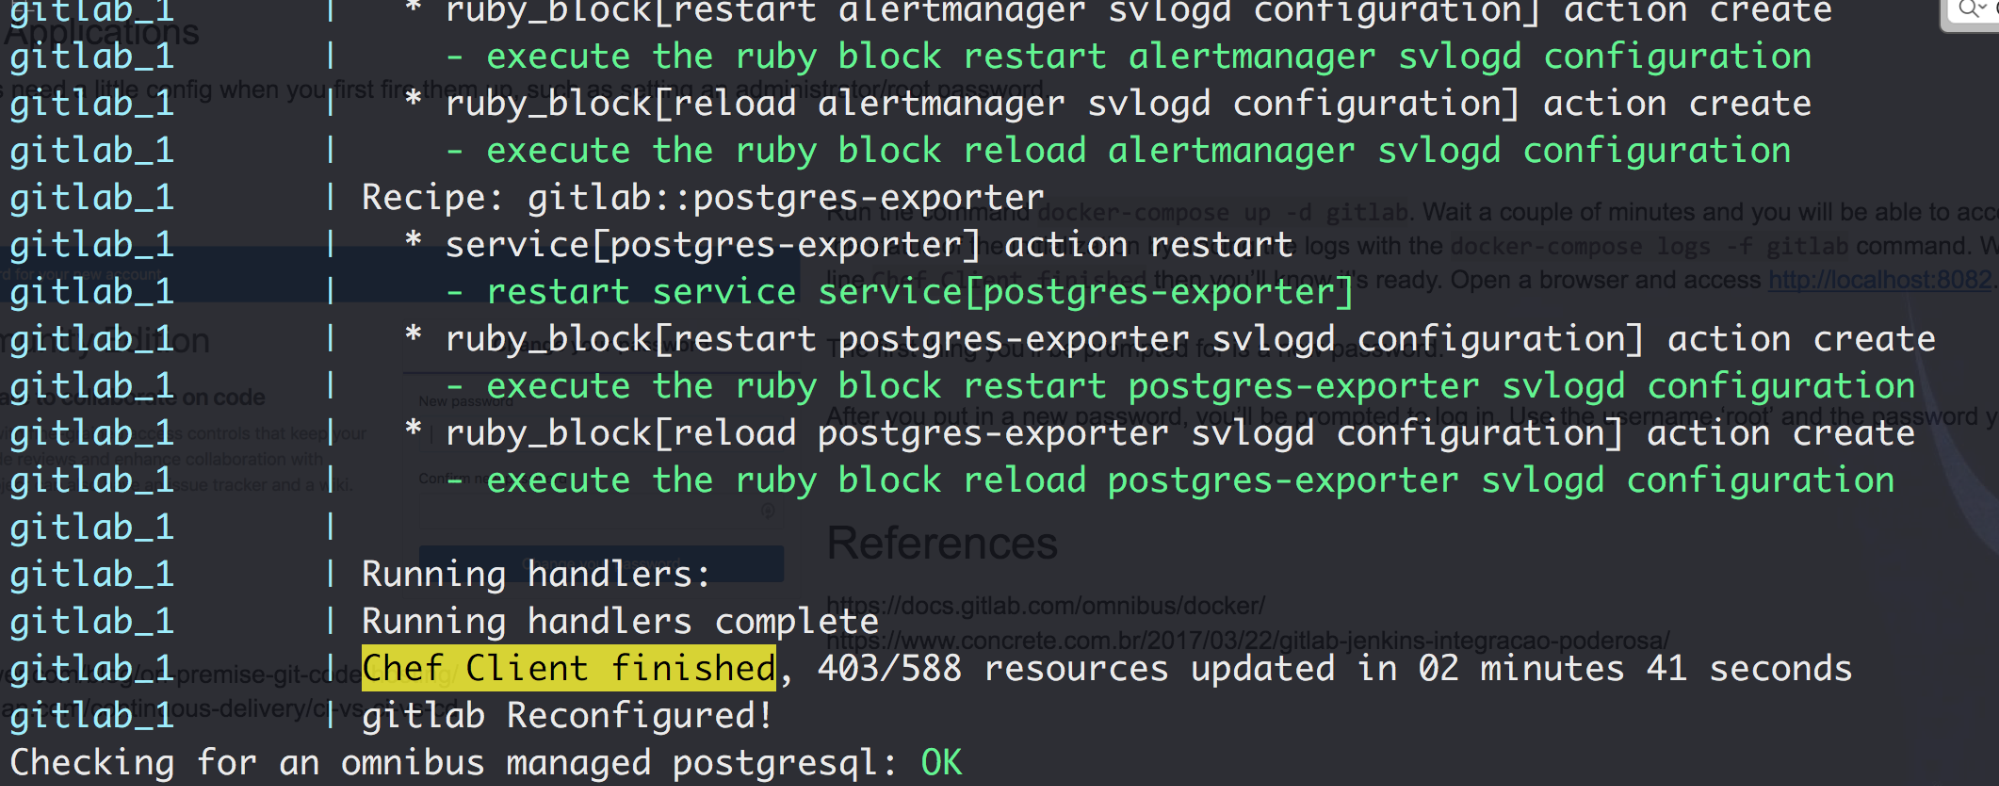
You can also monitor the status of the initialization by tracing the logs with the docker-compose logs -f gitlab command. When you see the logline Chef Client finished then you’ll know it’s ready.
Open a browser and access http://localhost:8082. The first thing you’ll be prompted for is a new password.
After you put in a new password, you’ll be prompted to log in. Use the username ‘root’ and the password you provided.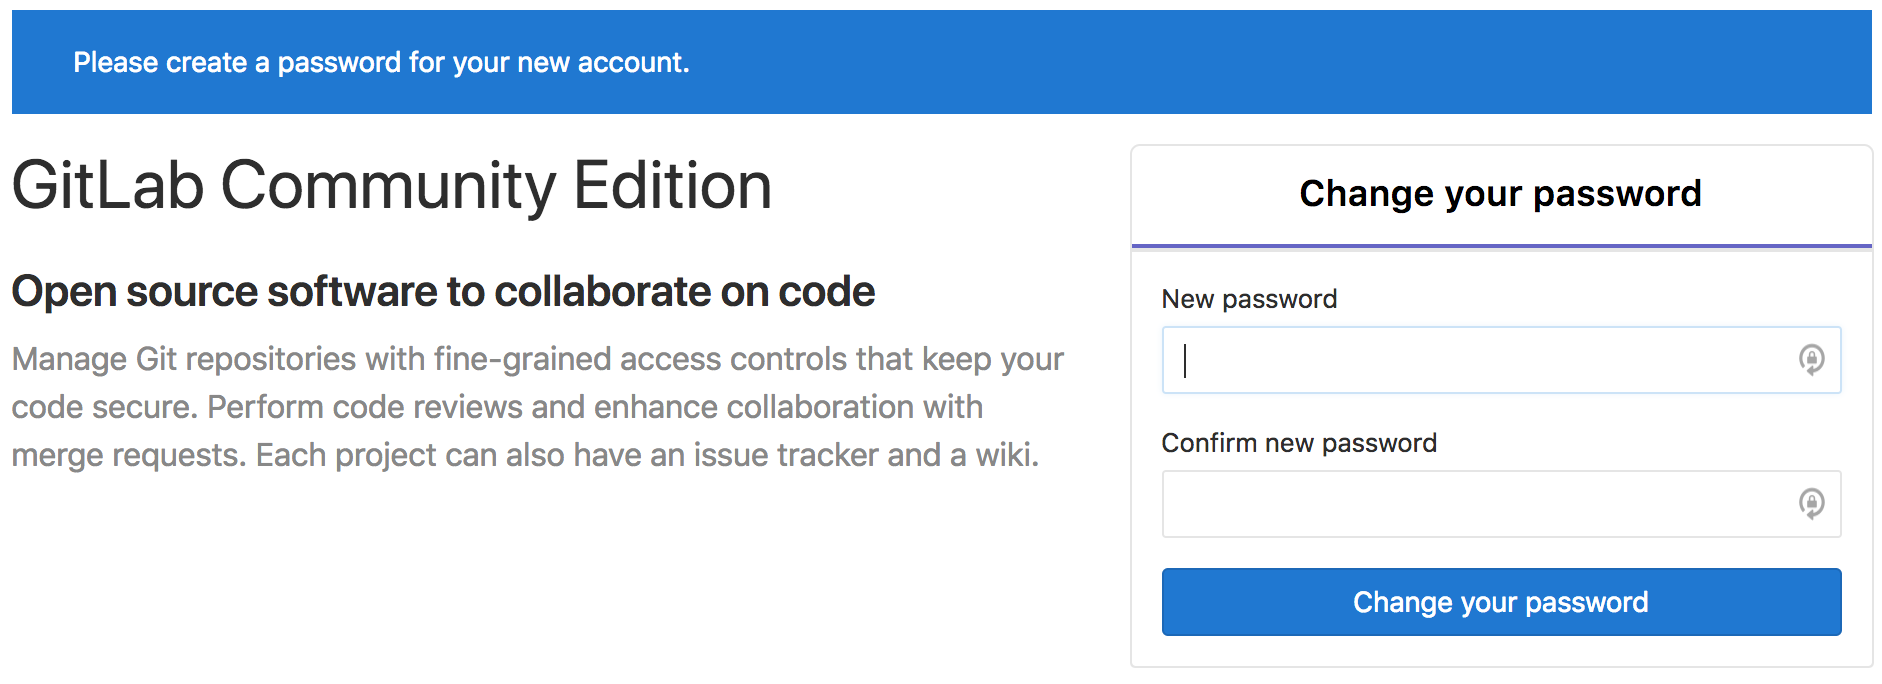
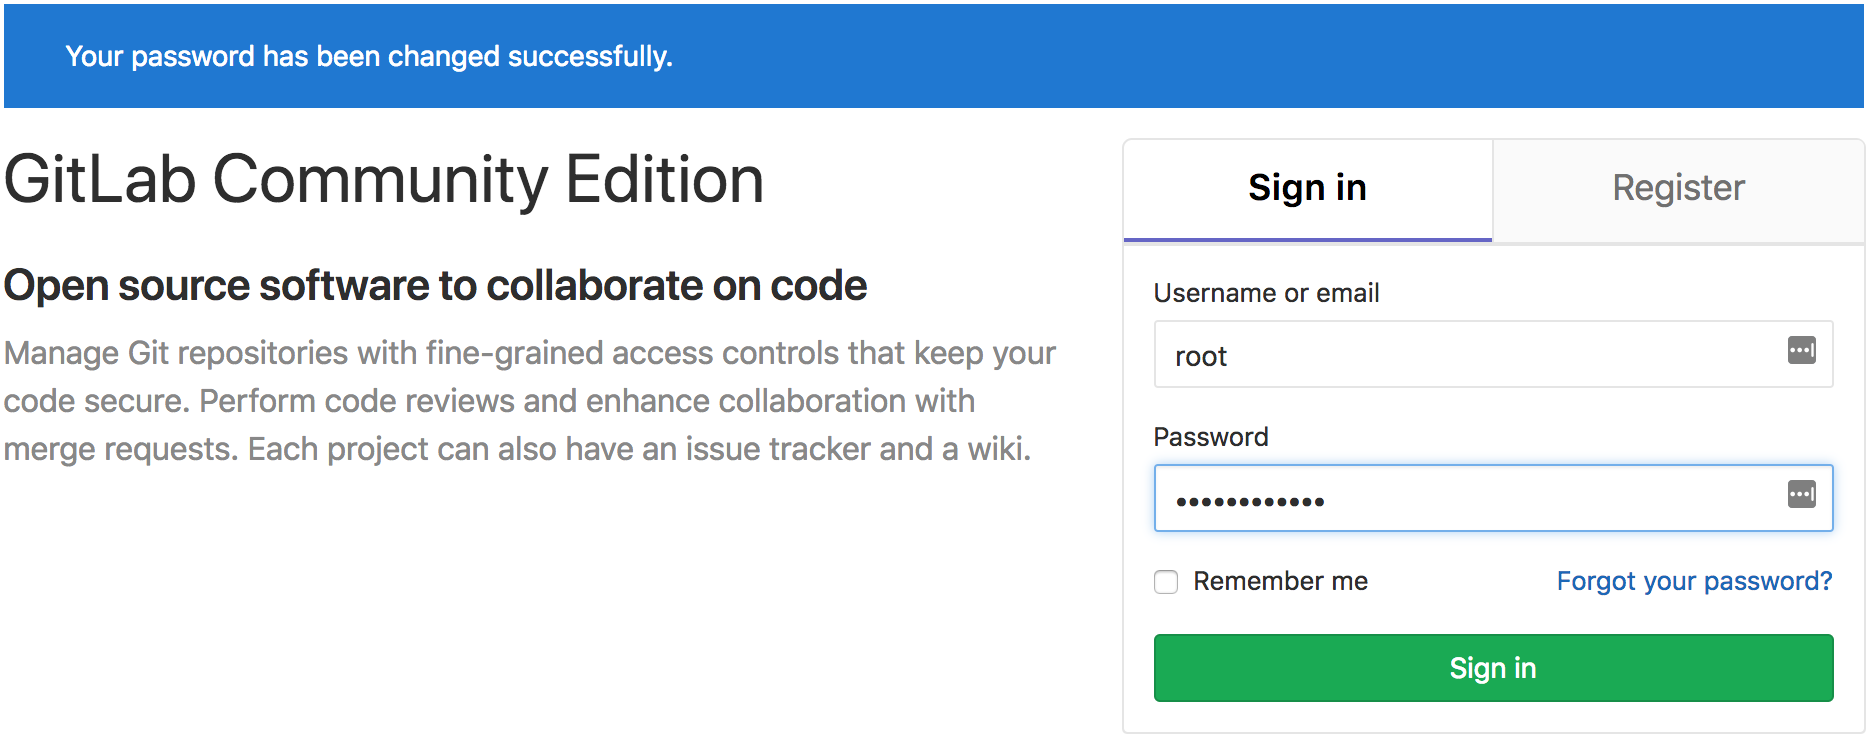
GitLab is now ready.
Start Artifactory
Run the command docker-compose up -d artifactory. Wait a couple of minutes for it to initialize.
You can also monitor the status of the initialization by tracing the logs with the docker-compose logs -f artifactory command. When you see the logline Artifactory successfully started then you’ll know it’s ready.
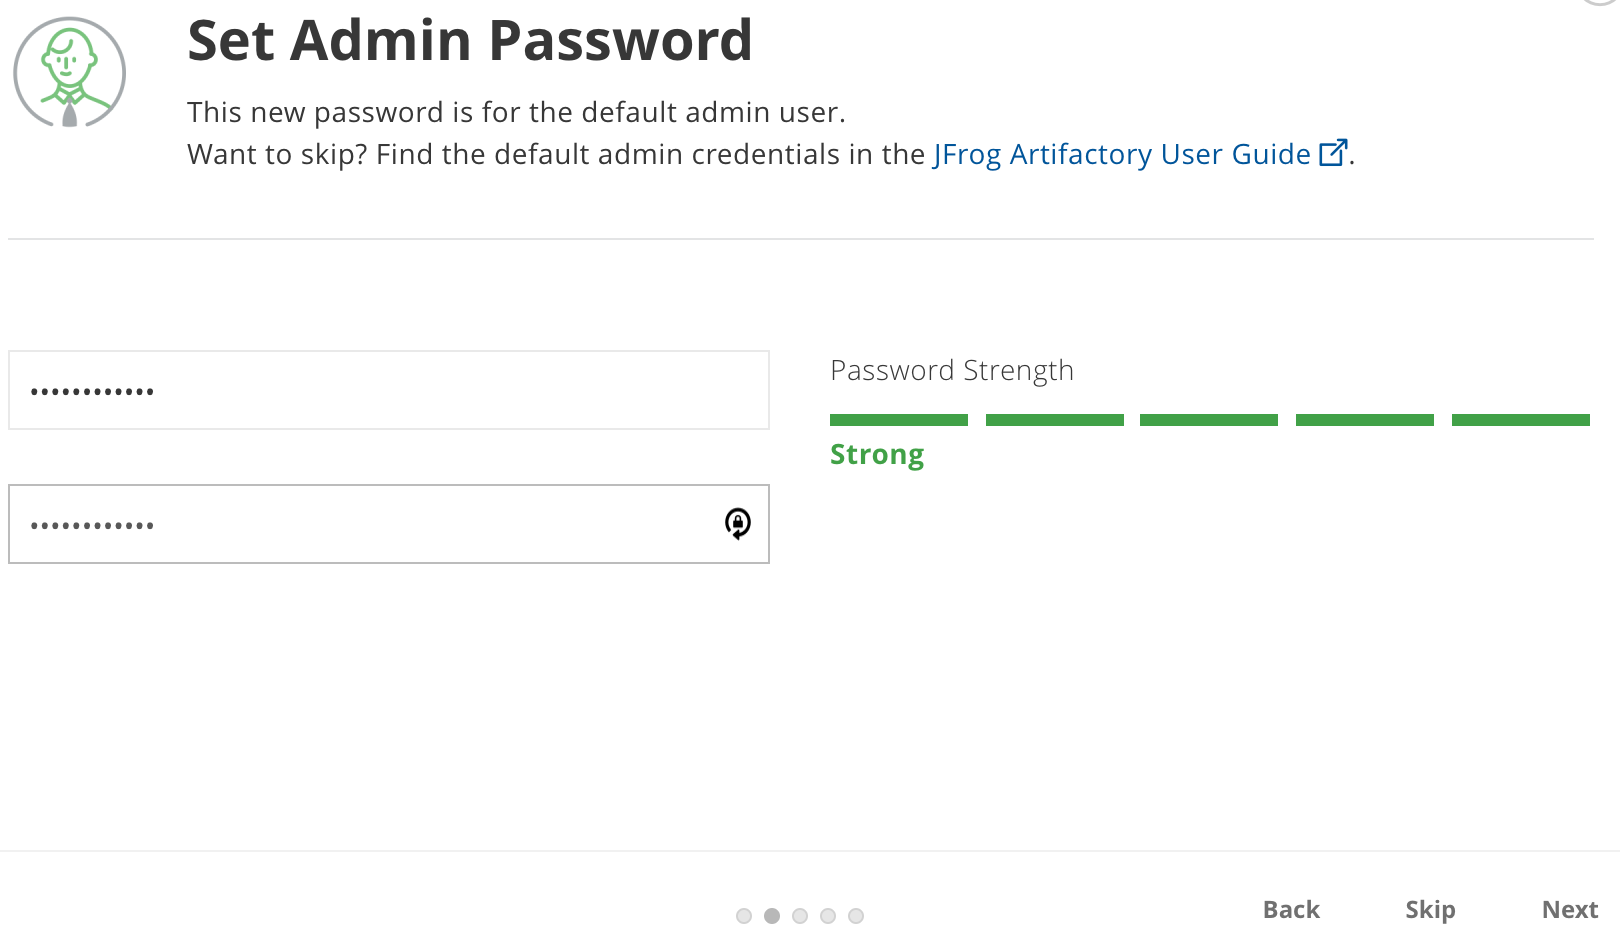
Open a browser and access http://localhost:8081. You will see the Welcome wizard. Click next to go through the wizard screens.
Set Admin Password: create an admin password
Configure a Proxy Server: Skip
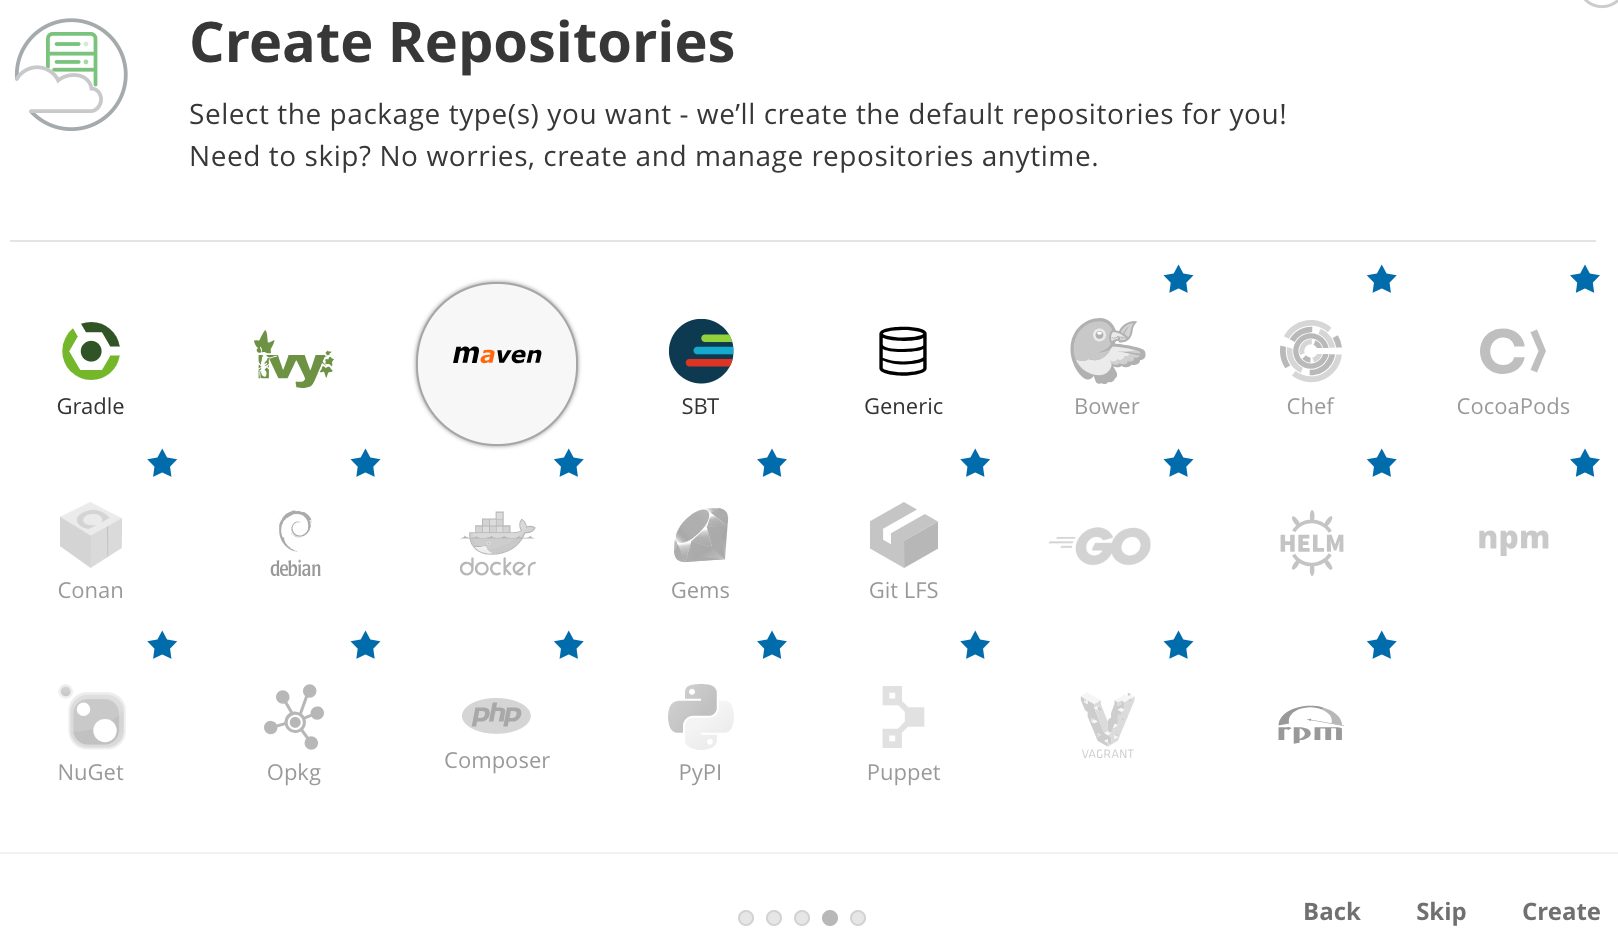
Create Repositories: choose Maven
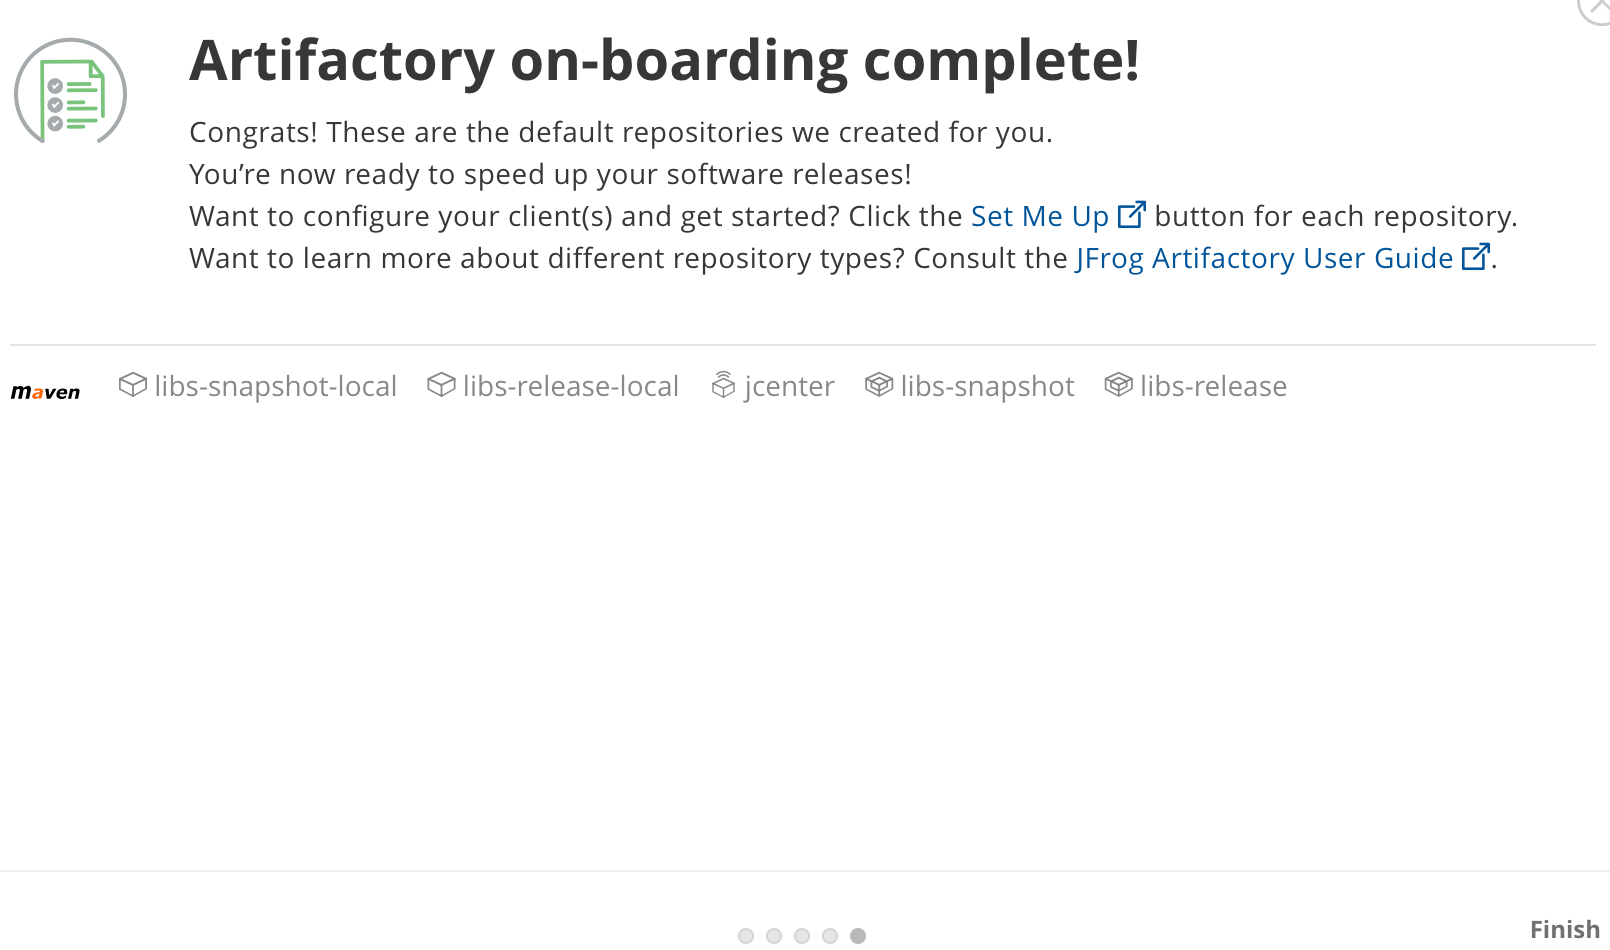
Artifactory on-boarding complete: Finish 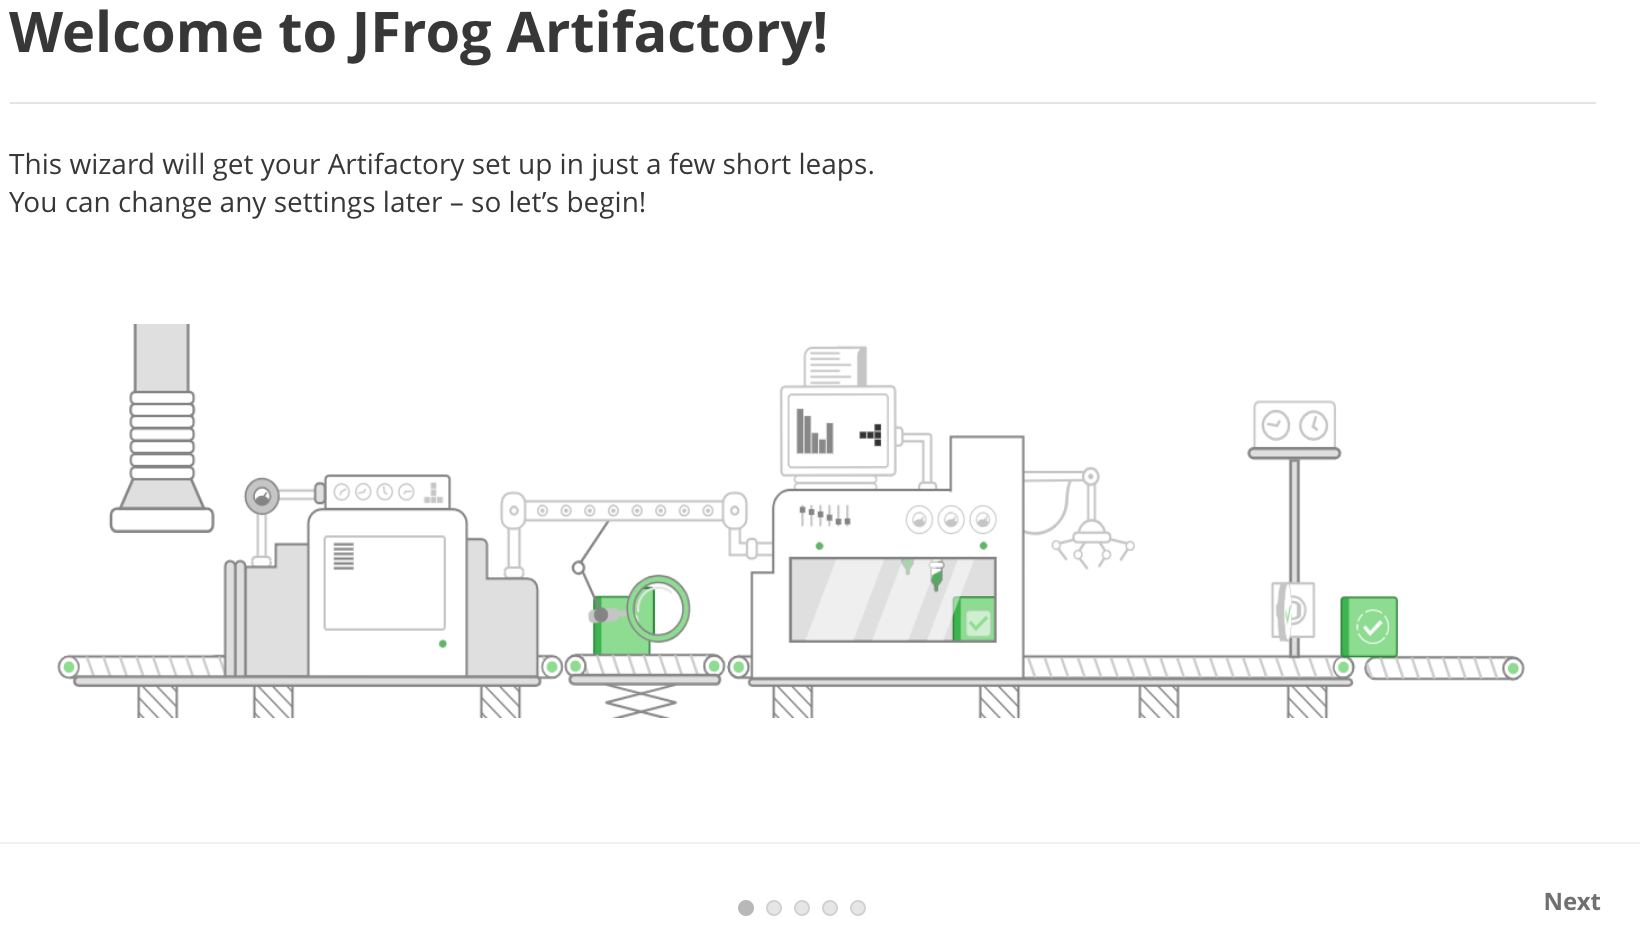
Artifactory is now ready.
Start Jenkins
Run the command docker-compose up -d jenkins. Wait a couple of minutes for it to initialize.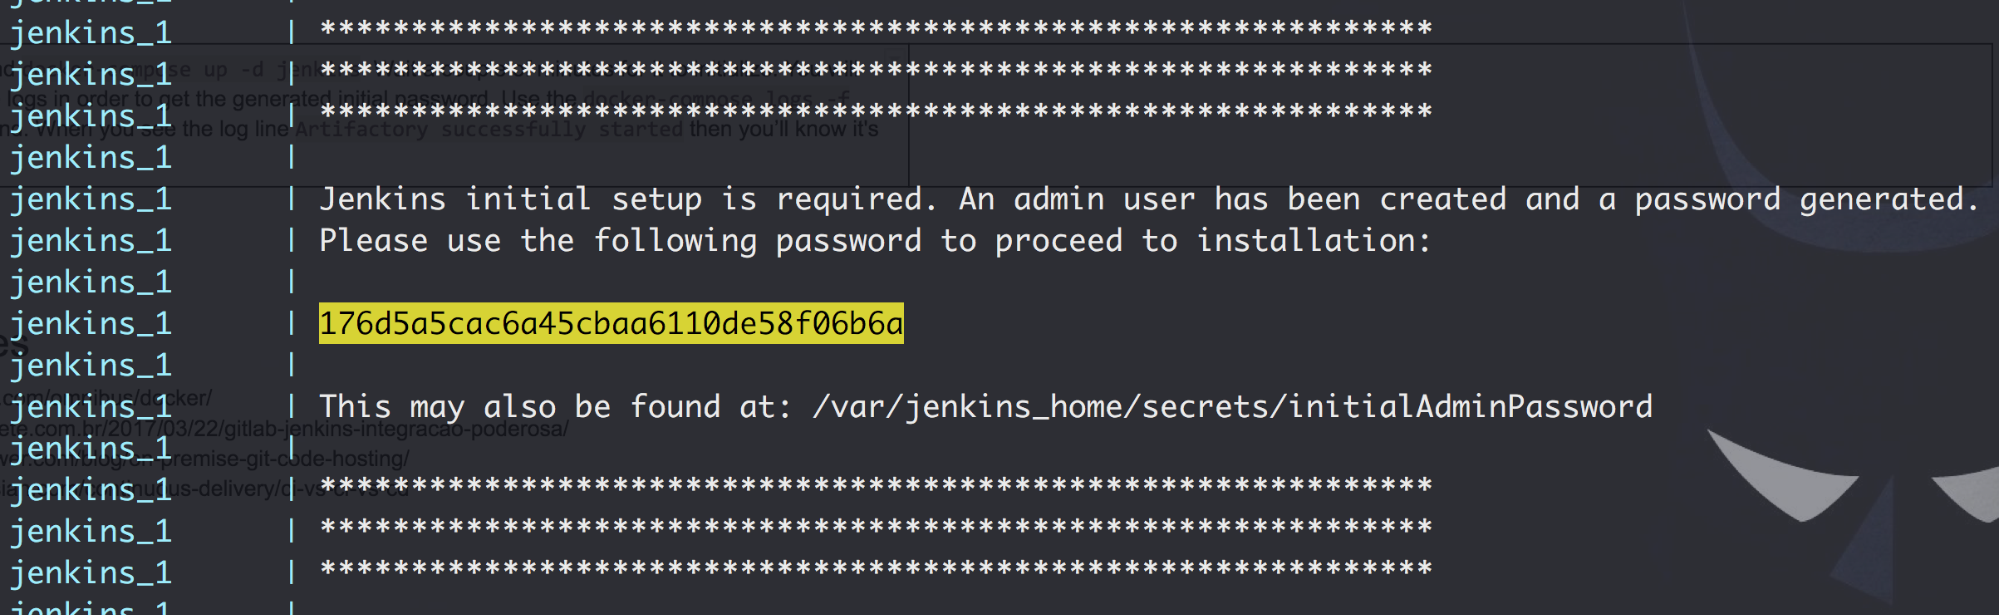
The initialization will generate the initial admin password and print it out. You’ll need to trace the log using the docker-compose logs -f jenkins command. Look for the line that says Jenkins's initial setup is required and grab that password.
Open a browser and access http://localhost:8080. You will be prompted with a set of screens as follows
Unlock Jenkins: you’ll need that initial admin password.
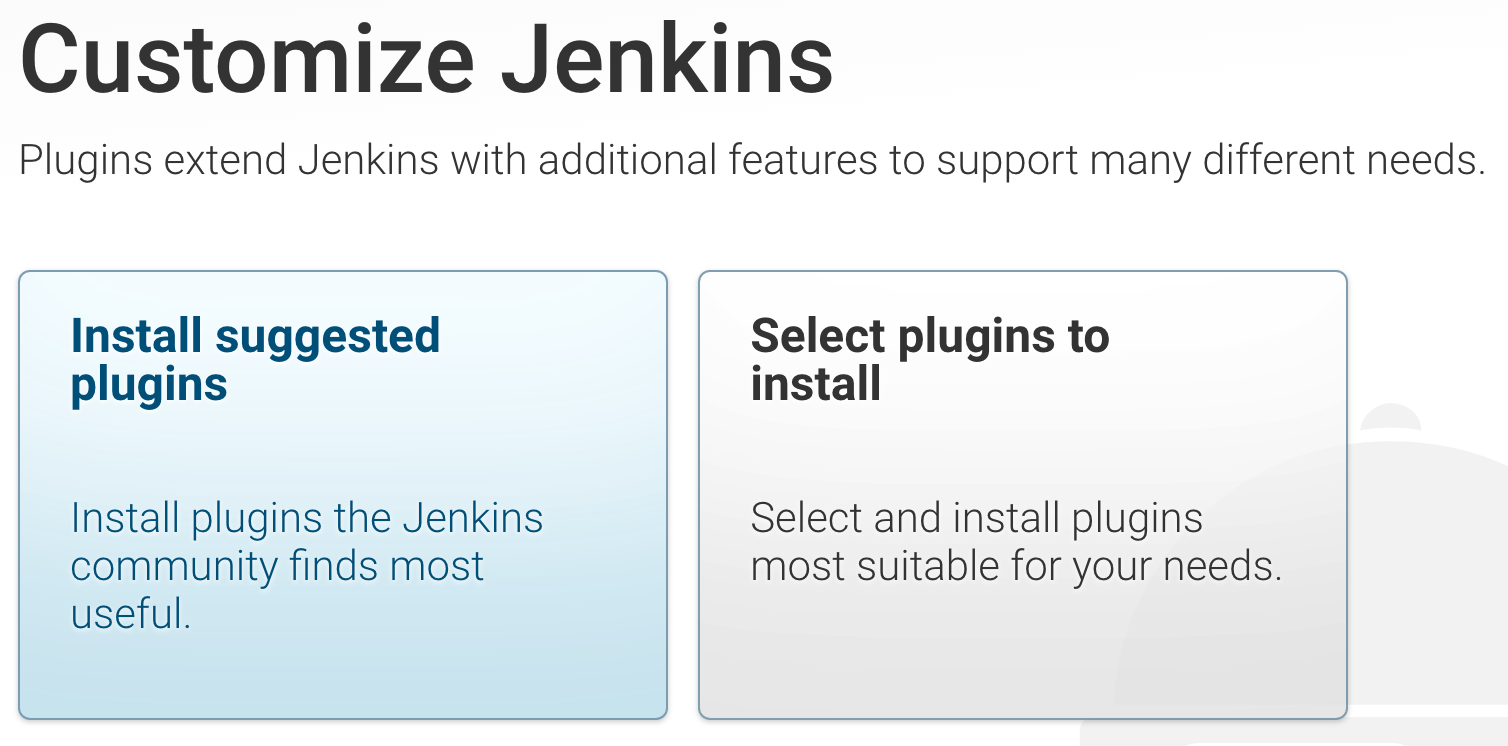
Customize Jenkins: select to Install suggested plugins.
Getting Started: Allow the installation to finish.
Create First Admin User: put in your login credentials. 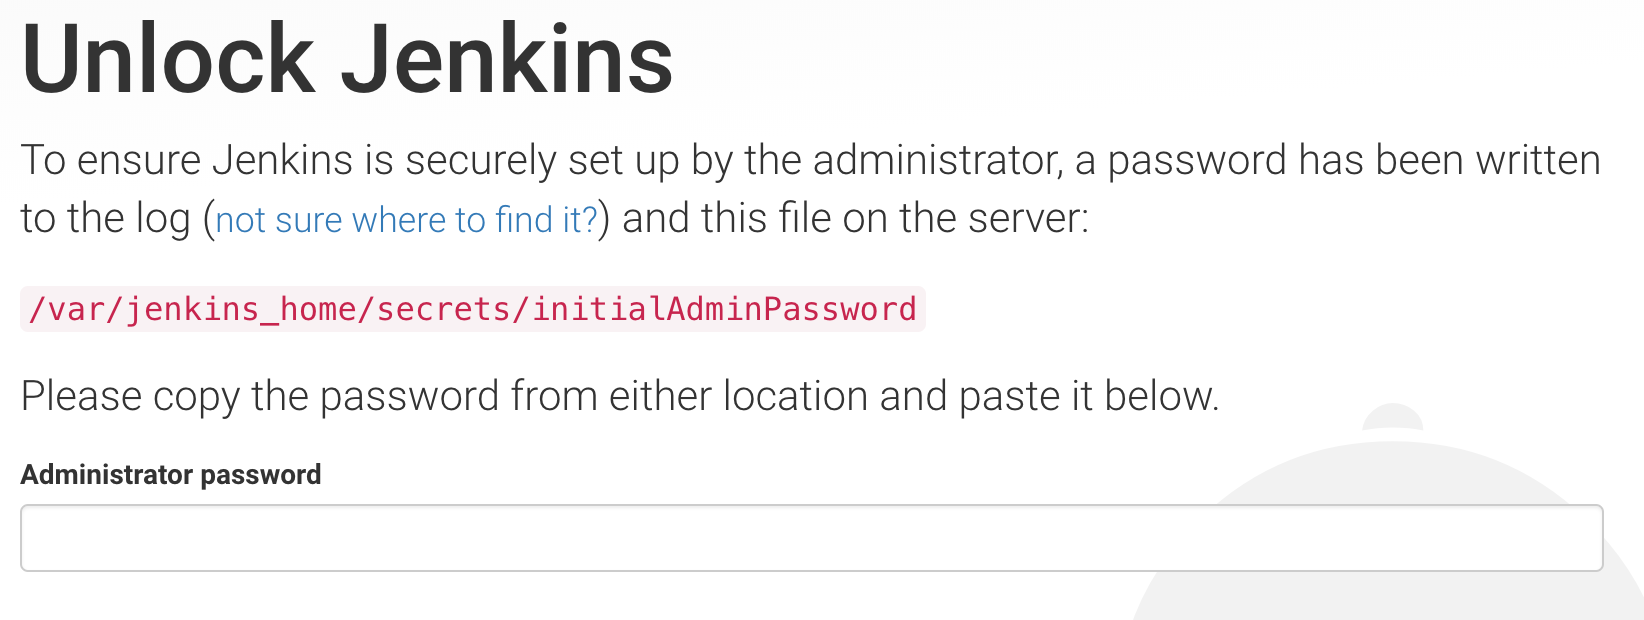


Setting Up Artifactory
By now Artifactory should be up and running at http://localhost:8081. If prompted to log in using the credentials you set up when you first started Artifactory.
When you first started Artifactory you opted to create default Maven repositories. This created a two virtual repositories libs-release and libs-snapshot, two local repositories libs-release-local and libs-release-snapshot, and one remote repository called jcenter. Virtual repos are simply aggregations of local and remote, in this case, libs-release -> [libs-release-local, jcenter] (and the snapshot respectively).
Now we need to set up one more remote repository for the Adobe Public Maven Repository and add it to the libs-release virtual repository. This way when Maven runs and it tries to resolve Adobe artifacts via our Artifactory repo, our Artifactory repo will, in turn, resolve them from Adobe’s repo.
Add A New Remote Repository
In Artifactory, on the left-hand rail, click on Admin > Remote. You’ll see the jcenter listed as the only remote repo. Click New on the upper right-hand corner and select Maven.

Provide a repo key and URL.
Select “Ignore and pass-through” as the Checksum Policy as I’ve found that this repo has checksum issues.
Uncheck “Handle Snapshots” as this repo does not host any.
Click Save & Finish.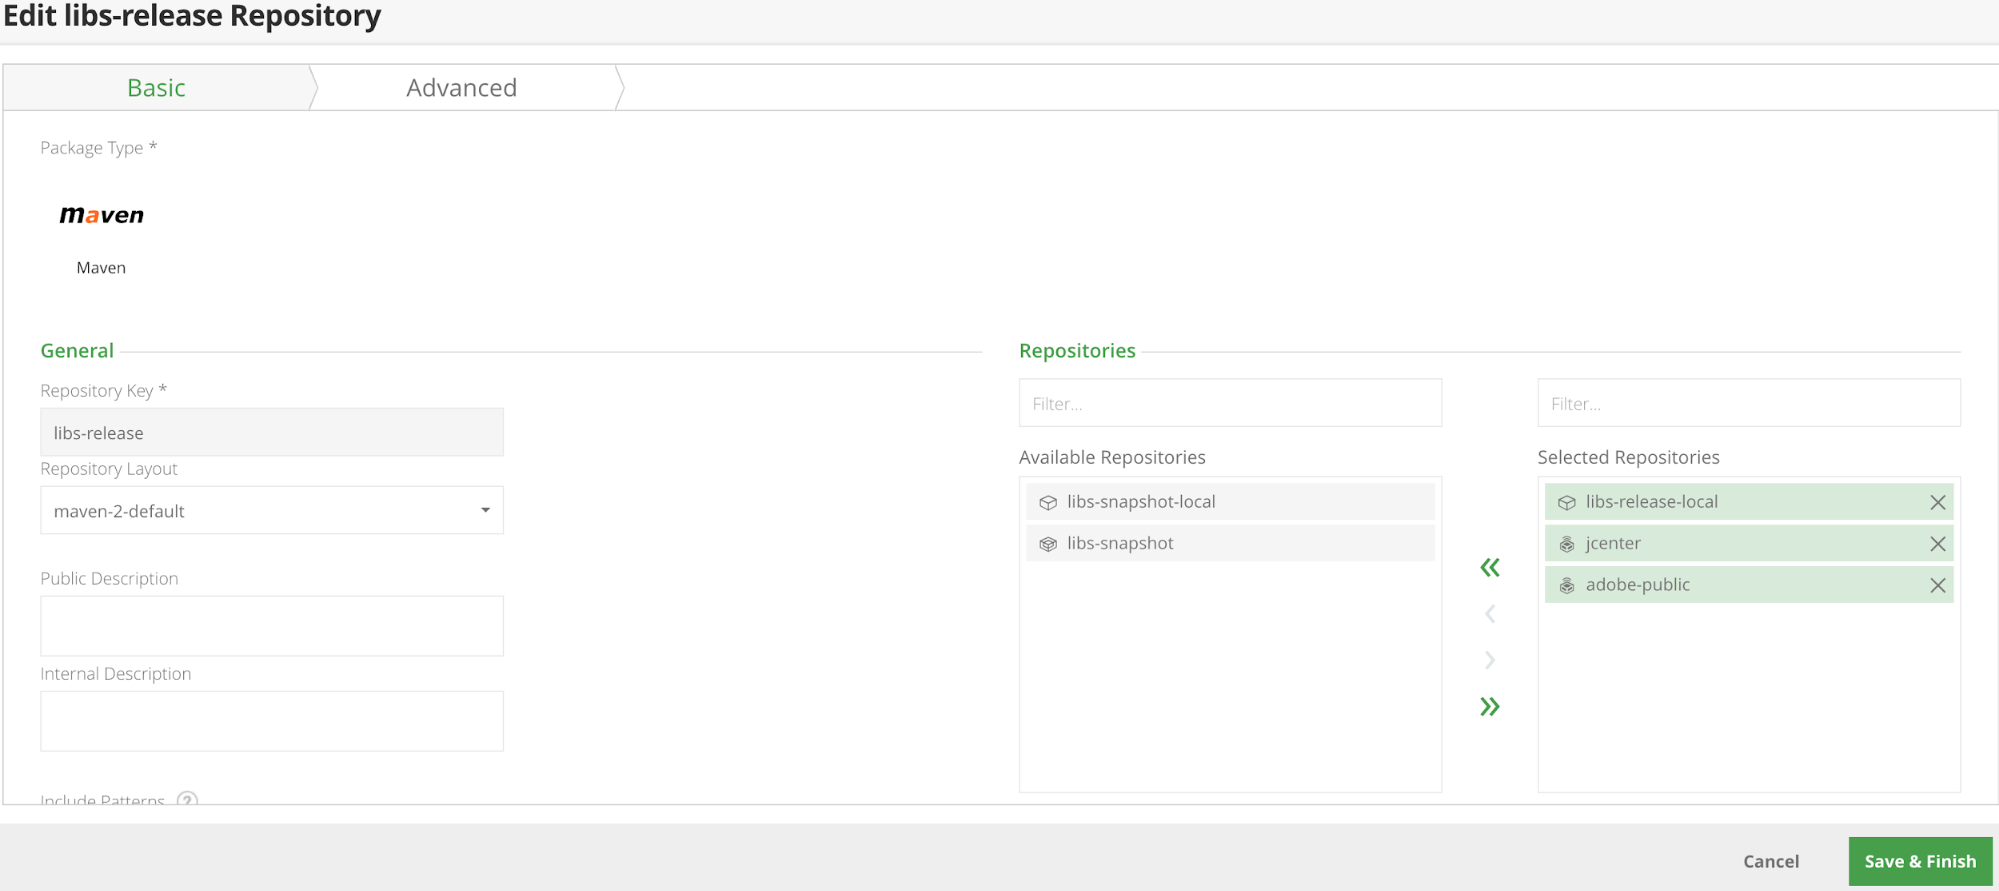
Now you’ll need to add this new remote repo to the libs-release virtual one. Go to Admin > Virtual and select libs-release. In the list of available repositories, move adobe-public from the left to right. Click Save & Finish.
Setting Up GitLab
By now GitLab should be up and running at http://localhost:8082. If prompted to log in using the credentials you set up when you first started GitLab.
I am going to be using an existing codebase from a previous tutorial, aem-solr. You can choose to do this, create a new AEM project, or try things with your own codebase. I suggest you follow through with the sample codebase to get things working, and then focus on replicating it with your own codebase. Then I will be setting up SSH keys for Jenkins.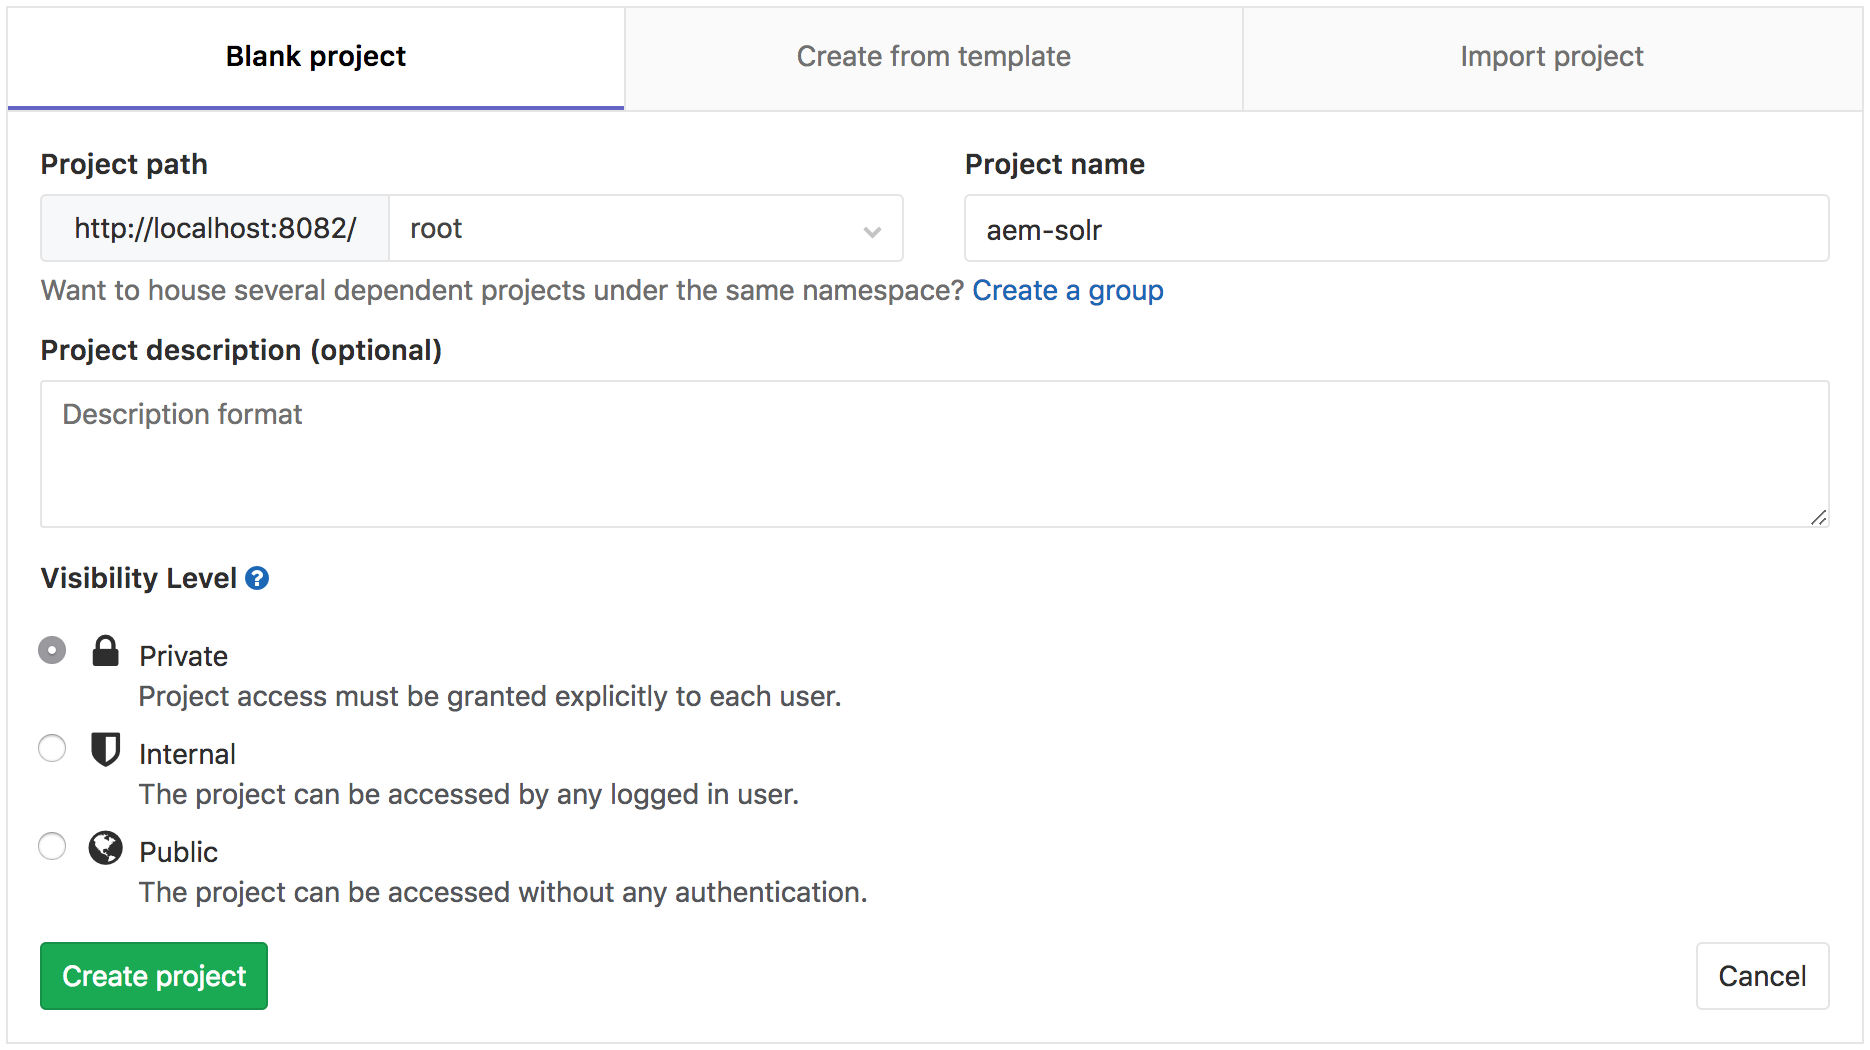
Create A New Project
First, let's create a project in GitLab and call it aem-solr. We will make it private because chances are your own projects will be also, and we’ll want to set up private SSH keys to enable Jenkins to pull and push.
GitLab has an Import Project feature tab when creating a new project, but we are going to do it the old fashioned way by pulling from our source repo and pushing to GitLab.
git clone git@github.com:juan-ayala/aem-solr.git
cd aem-solr
git remote add gitlab_origin http://127.0.0.1:8082/root/aem-solr.git
git push gitlab_origin develop
Username for 'http://127.0.0.1:8082': root
Password for 'http://root@127.0.0.1:8082': ******
cd ..
rm -rf aem-solr
Here are the commands I used to import aem-solr. Notice I’m using the https repo url when pushing, so it will ask me for credentials. For now, it is ok to use the root username you used to log into the web interface. After pushing to GitLab, you can delete the local cloned repository.
ssh-keygen -t rsa \
-b 4096 \
-C "juan.ayala@codeandtheory.com" \
-f ~/.ssh/gitlab_rsa
Setting Up SSH Keys
First, generate a new SSH key. A good tutorial can be found here, this is the command I used on Mac. Two files are created, ~/.ssh/gitlab_rsa and ~/.ssh/gitlab_rsa.pub. The .pub file contents is what we will need for GitLab.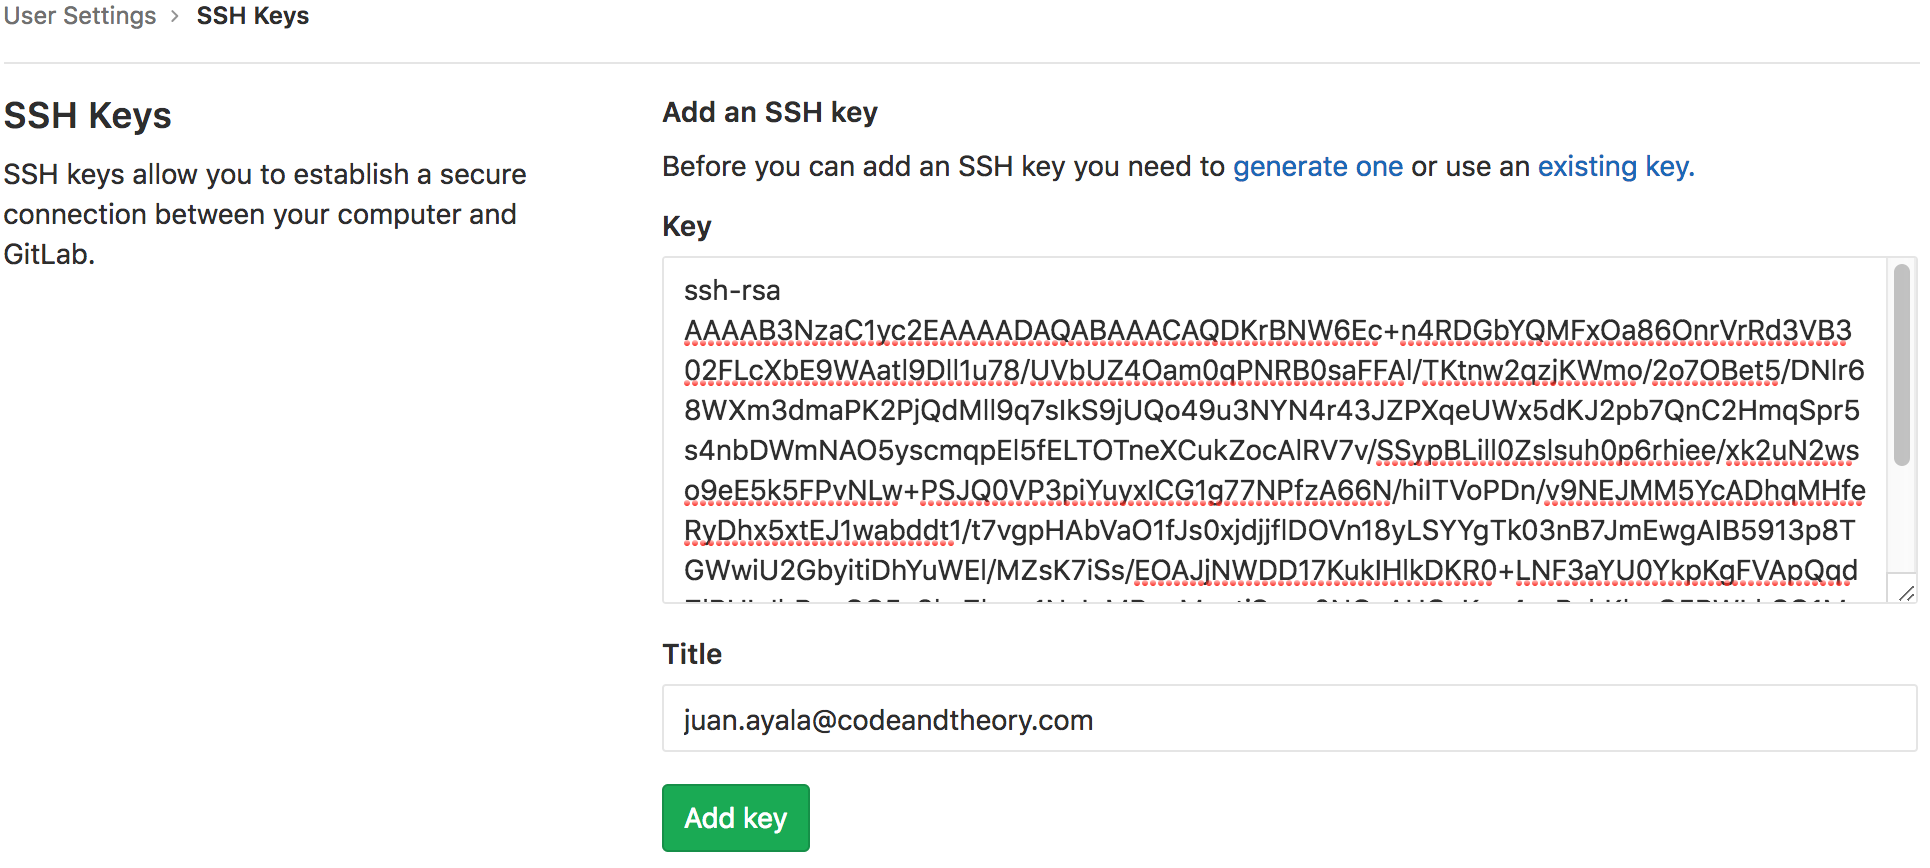
In GitLab, you can set up ssh keys for your user (in this case root) by going to the User Settings > SSH Keys. Paste the contents of the .pub file and add the key. The second file, the private key, is what Jenkins will need.
Setting Up Jenkins
By now GitLab should be up and running at http://localhost:8080. If prompted to log in using the credentials you set up when you first started Jenkins. We will start by installing the required plugins, setting up an SSH private key credential, and creating a Maven Jenkins project.
Private SSH Key for GitLab
Go to Jenkins > Credentials > System > Global credentials and click on Add Credentials. Select SSH Username with the private key as the Kind, use git as the username, and paste in the private key generated when you set up the SSH key in GitLab.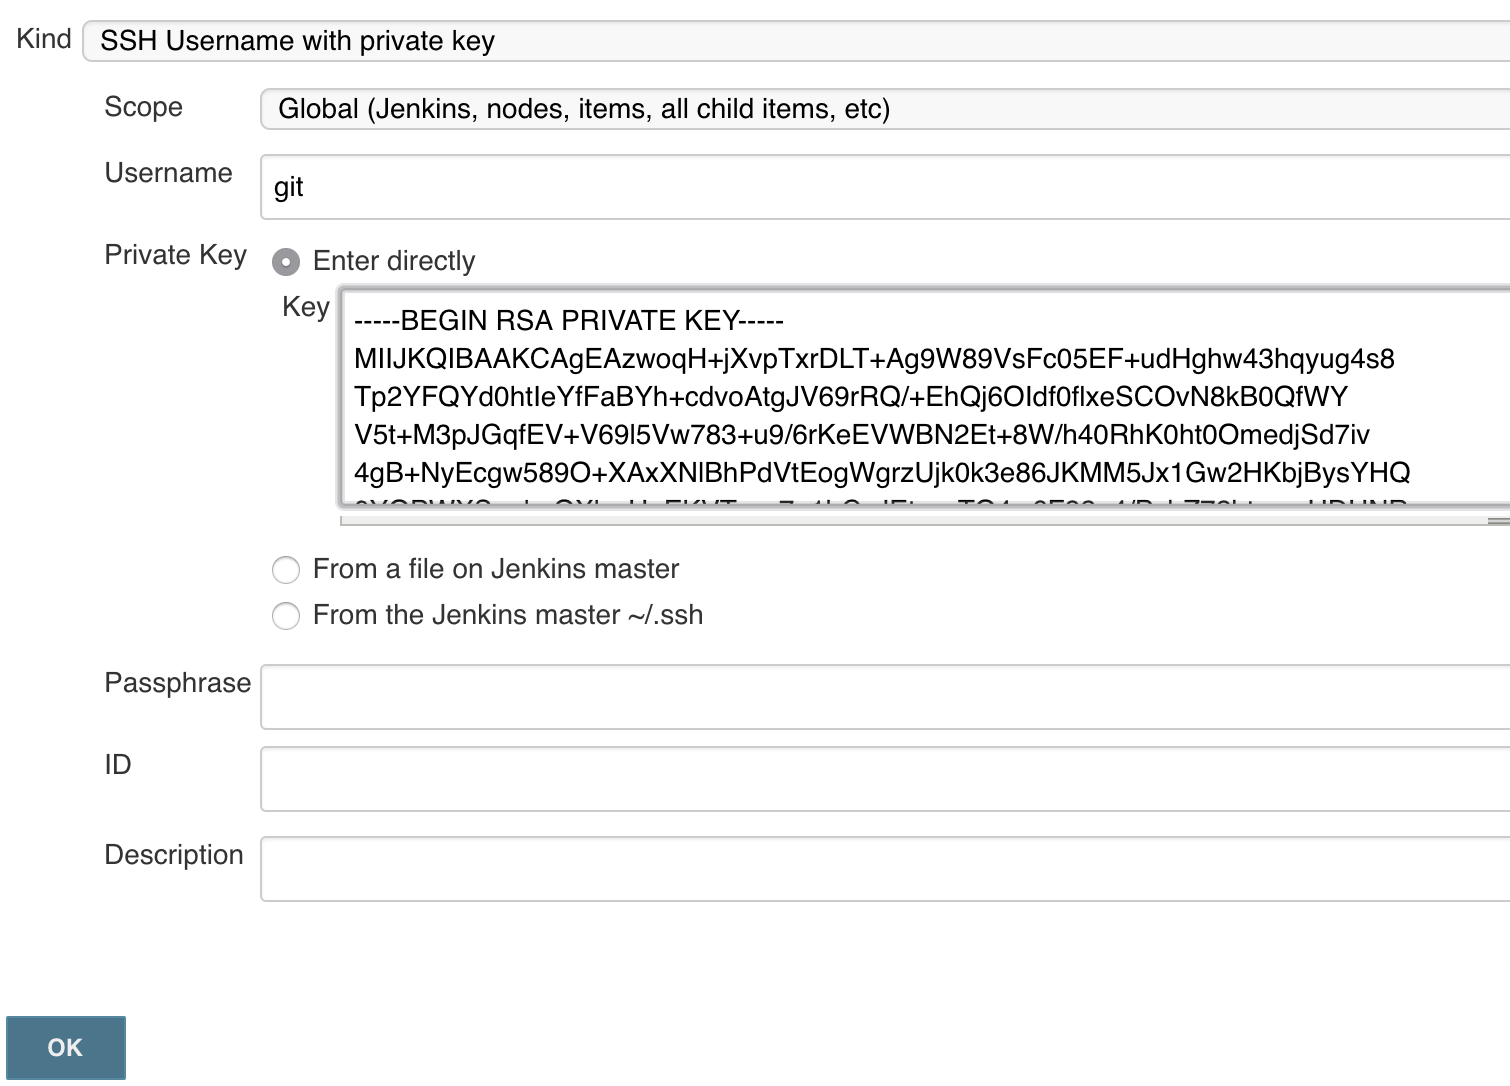
Username/Password for Artifactory
Go to Jenkins > Credentials > System > Global credentials and click on Add Credentials. Select Username with password as the Kind. Use the credentials you created when you started Artifactory.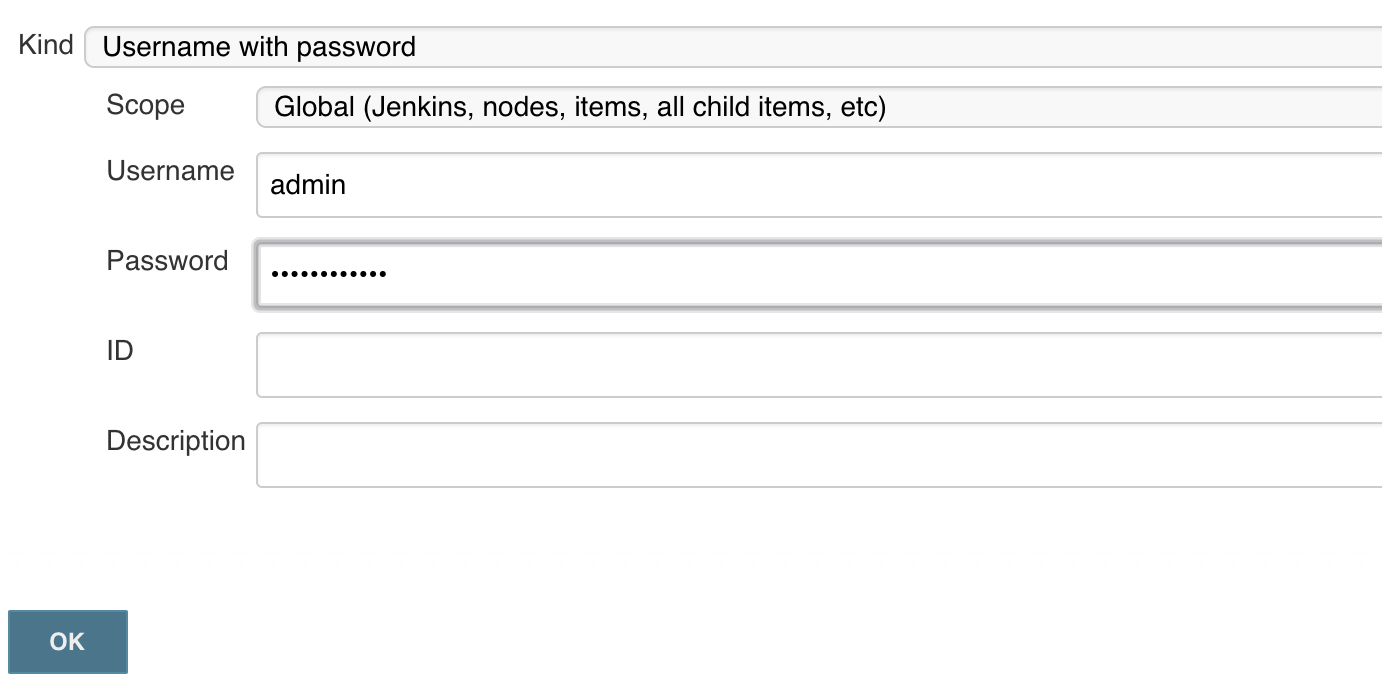
Install Additional Plugins
Go to Jenkins > Plugin Manager, and select the Available tag. Search for the following plugins and install them.
Maven Integration
Artifactory Install Global Tools
You will need to set up Maven and the Java SDK as global tools so that jobs needing them to know from where and how how to install them. Go to Jenkins > Global Tool Configuration.
Scroll down to the JDK section and click Add JDK. Give it a name, install it from java.sun.com. You’ll need to provide your Oracle credentials (just click on the link and follow the prompts) in order to agree to Oracle’s license agreement.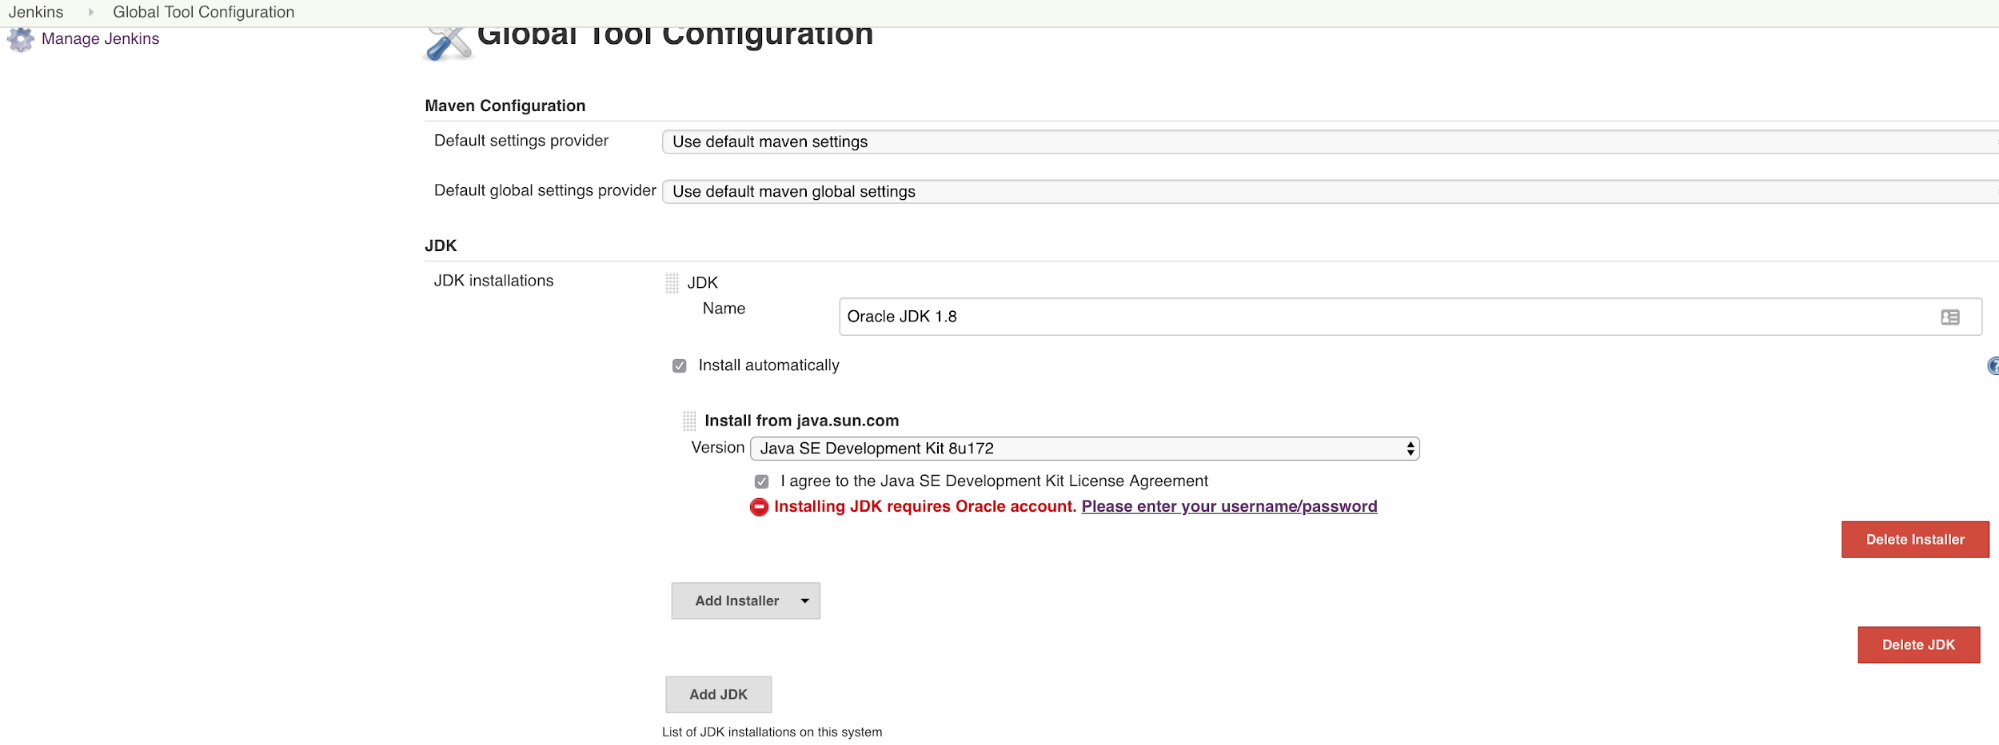
Scroll down to the Maven section. Click on Add Maven. Give it a name, select a version, and opt to install automatically.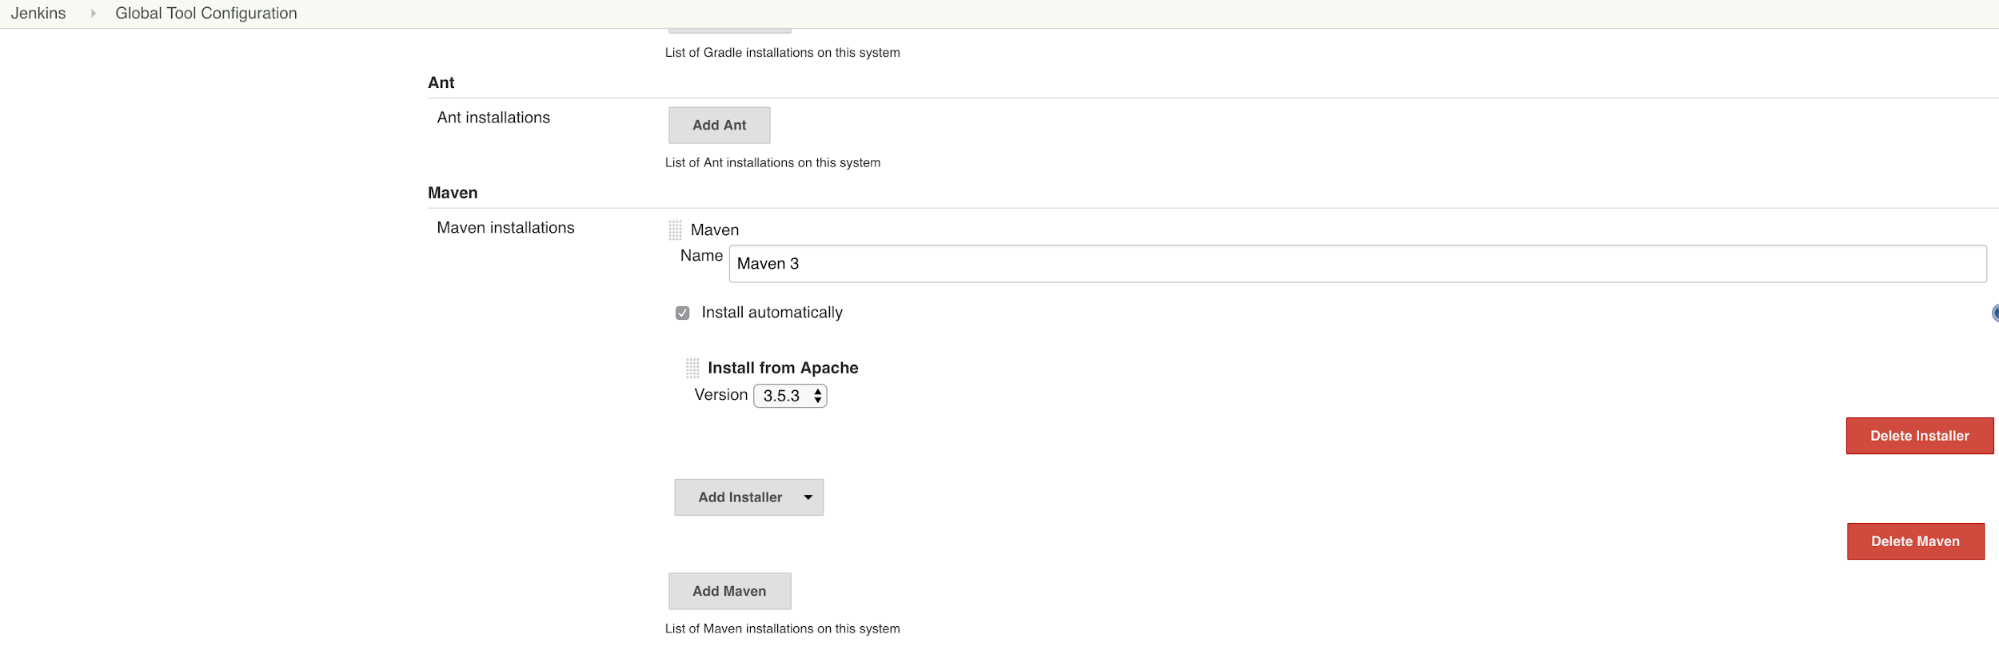
Add An Artifactory Server
You will need to tell Jenkins where Artifactory is and how to log in. Go to Jenkins > configuration and scroll down to the Artifactory section.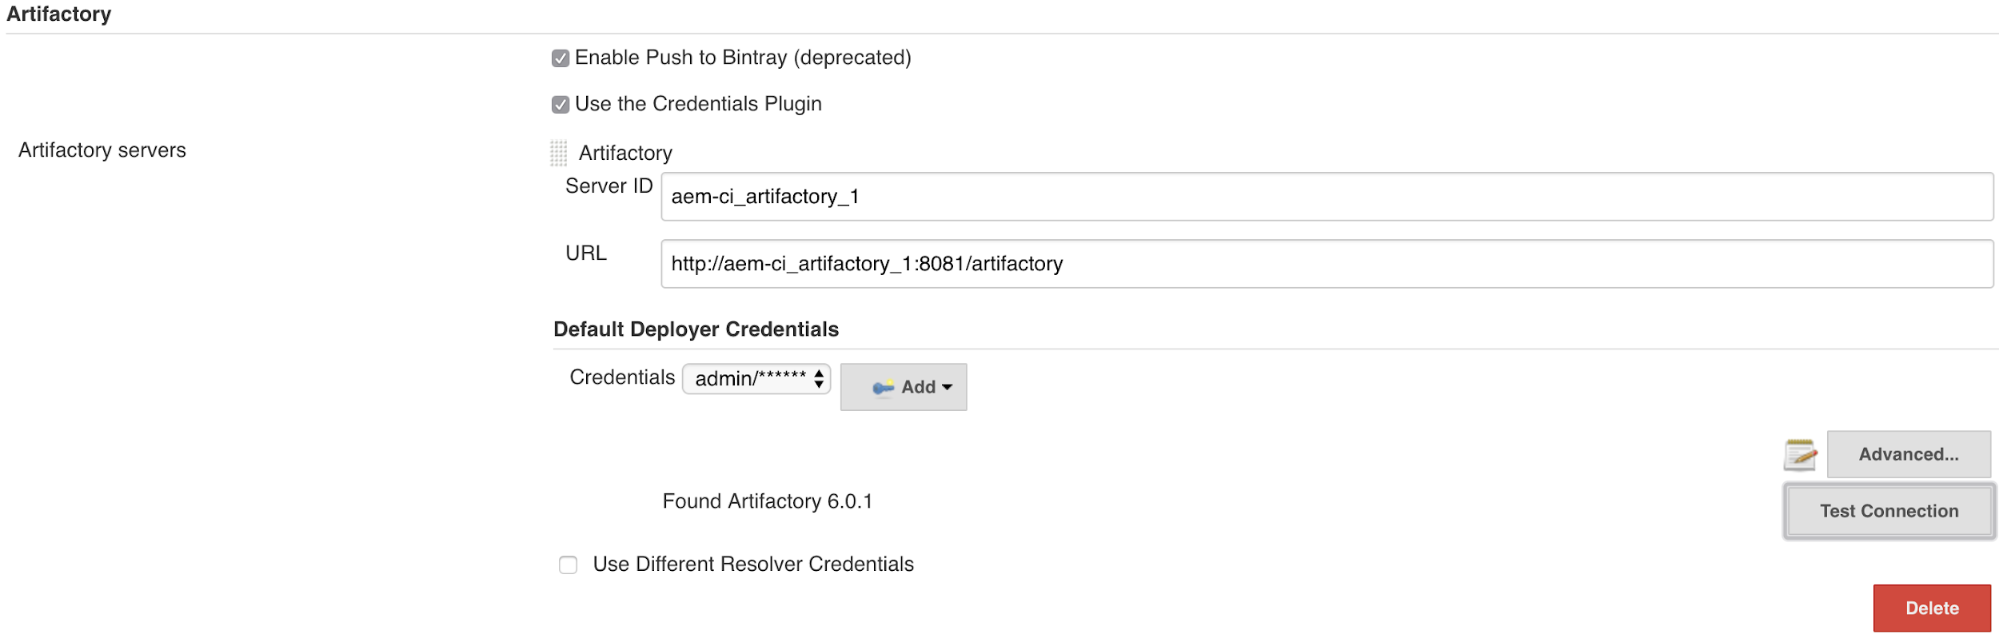
Check “Use the Credentials Plugin” and click Add Artifactory Server. Provide the url http://aem-ci_artifactory_1:8081/artifactory. Since we have all three CI applications running in Docker, their hostnames are that of the container name. In this case, Artifactory should be resolvable via aem-ci_artifactory_1. Select the credentials that you created in for Artifactory. Test the connection, and you should receive a “Found Artifactory <Version>” message.
Create a Maven Job
Create a new Jenkins job by selecting Jenkins > New Item. Time the item a name and select the Maven project as the type. Click Ok.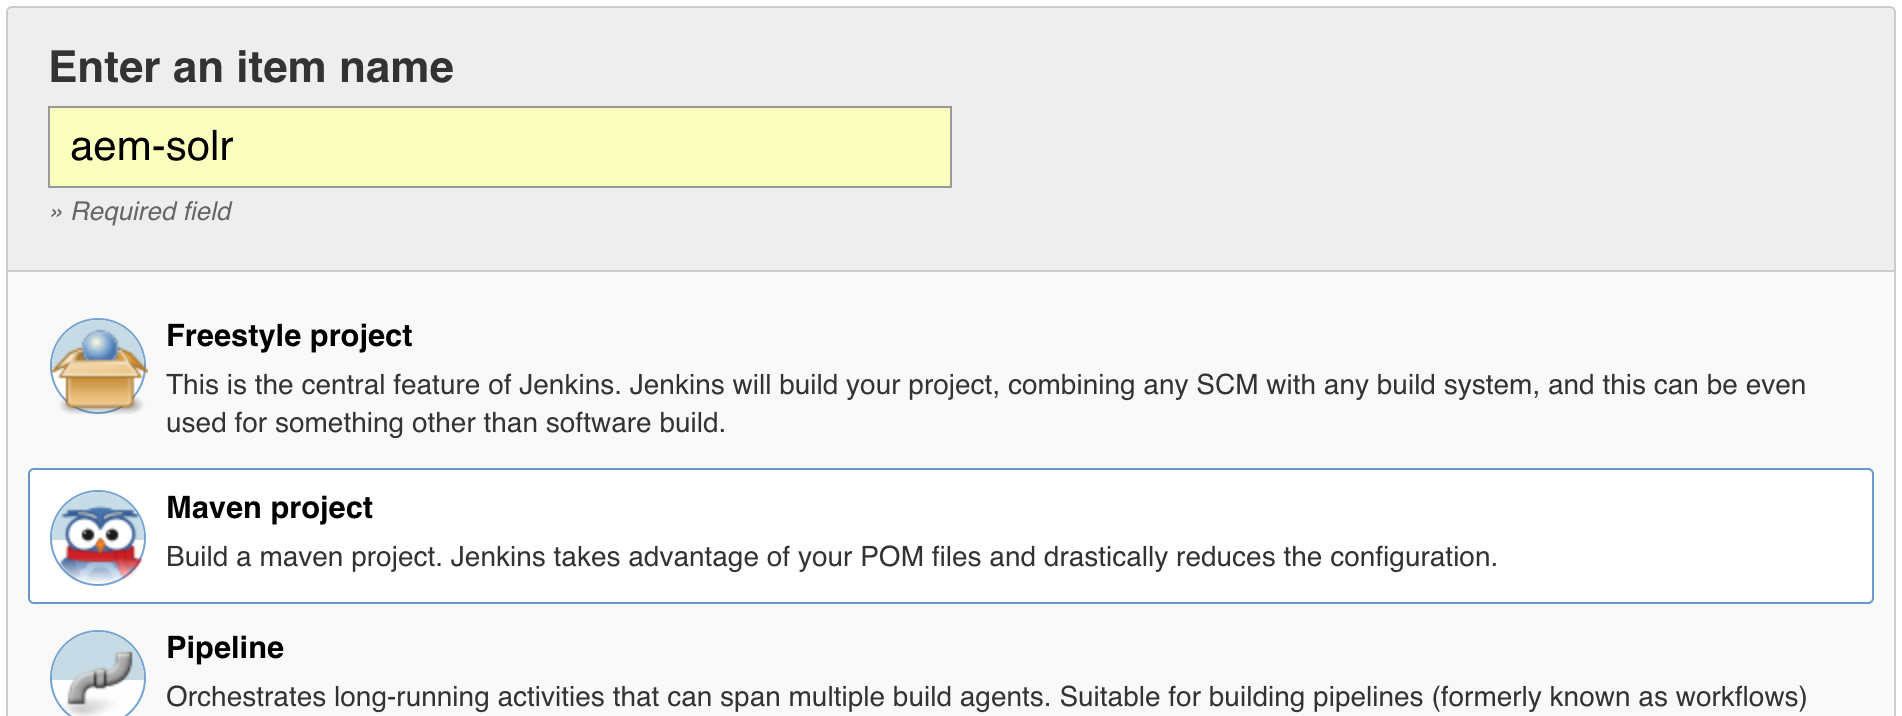
In the Source Code Management section, select Git. Use the following URL: ssh://git@aem-ci_gitlab_1:22/root/aem-solr.git. Select the git credentials you created when setting up Jenkins. Note that aem-ci_gitlab_1 is the hostname that will resolve to the GitLab container as Jenkins and GitLab inhabit the same Docker network. Also, port 22 that is the SSH port exposed by GitLab, whereas 522 is the SSH port exposed by Docker for host access.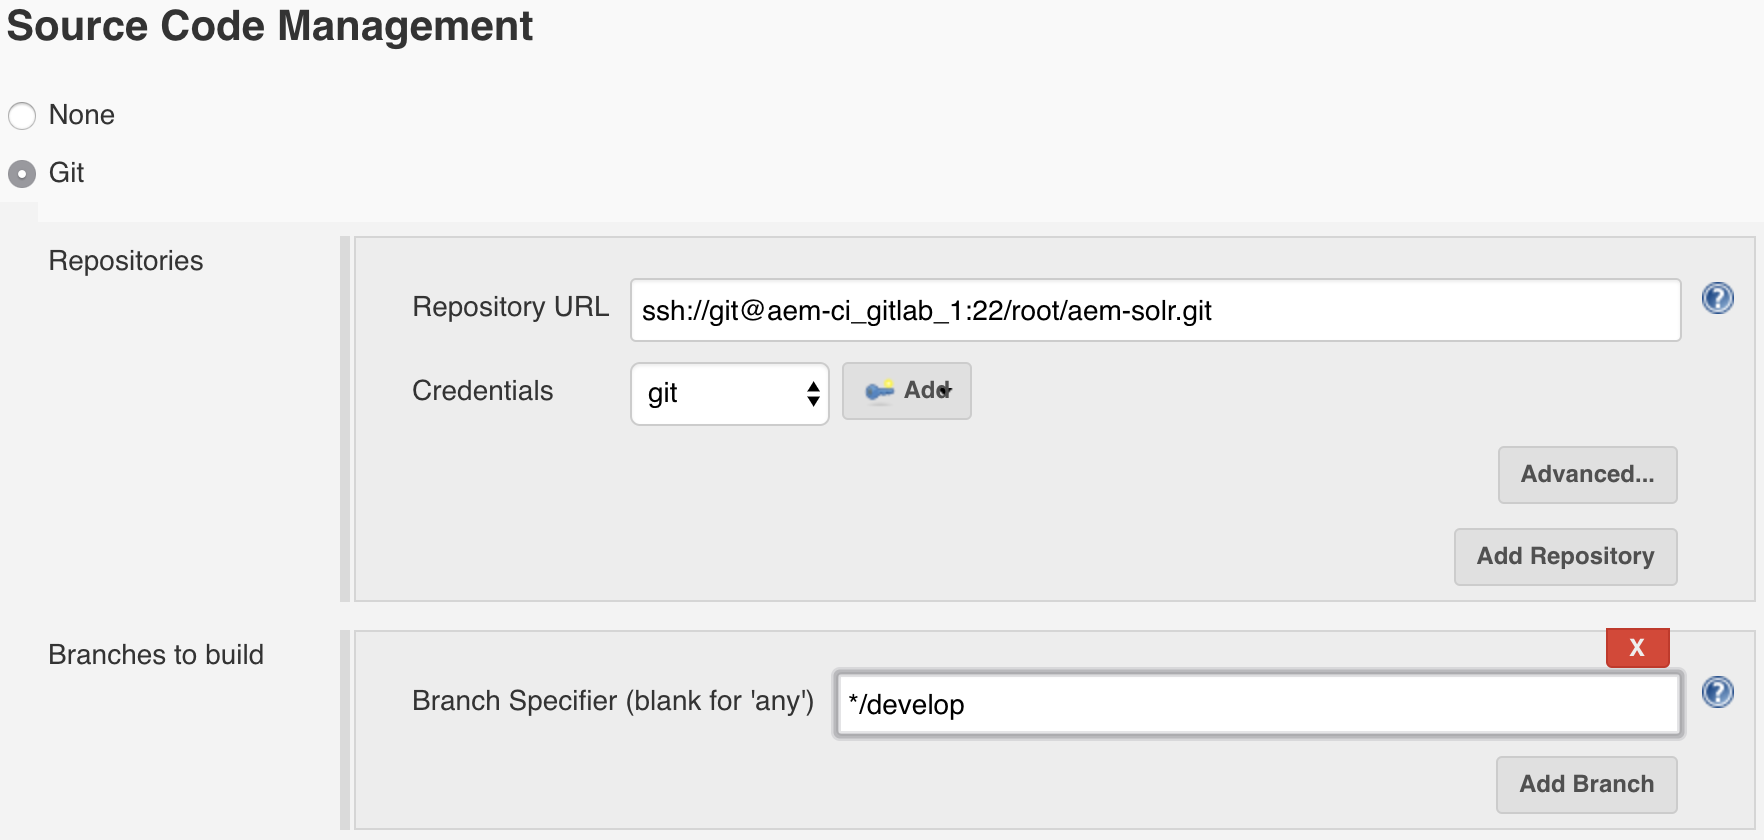
In the build section, use the clean install goals. Note that we will not need to include the -P adobe-public profile because we’ll be resolving the artifact through Artifactory next.
In the Build Environment section, check “Resolve artifacts from Artifactory”. The URL should already be set to the URL of the Artifactory server you configured.
Click on the “Refresh Repositories” button to get a list of available repos on the server. Select the releases and snapshot repositories. These will be the two virtual repos on Artifactory, and where Maven will get its artifacts from.
Add a Post-build Action, Deploy artifacts to Artifactory. The URL should already be set to the URL of the Artifactory server you configured.
Click on the “Refresh Repositories” button to get a list of available repos on the server. Select the releases and snapshot repositories. These will be the two local repos on Artifactory, and where Maven will publish its artifacts to.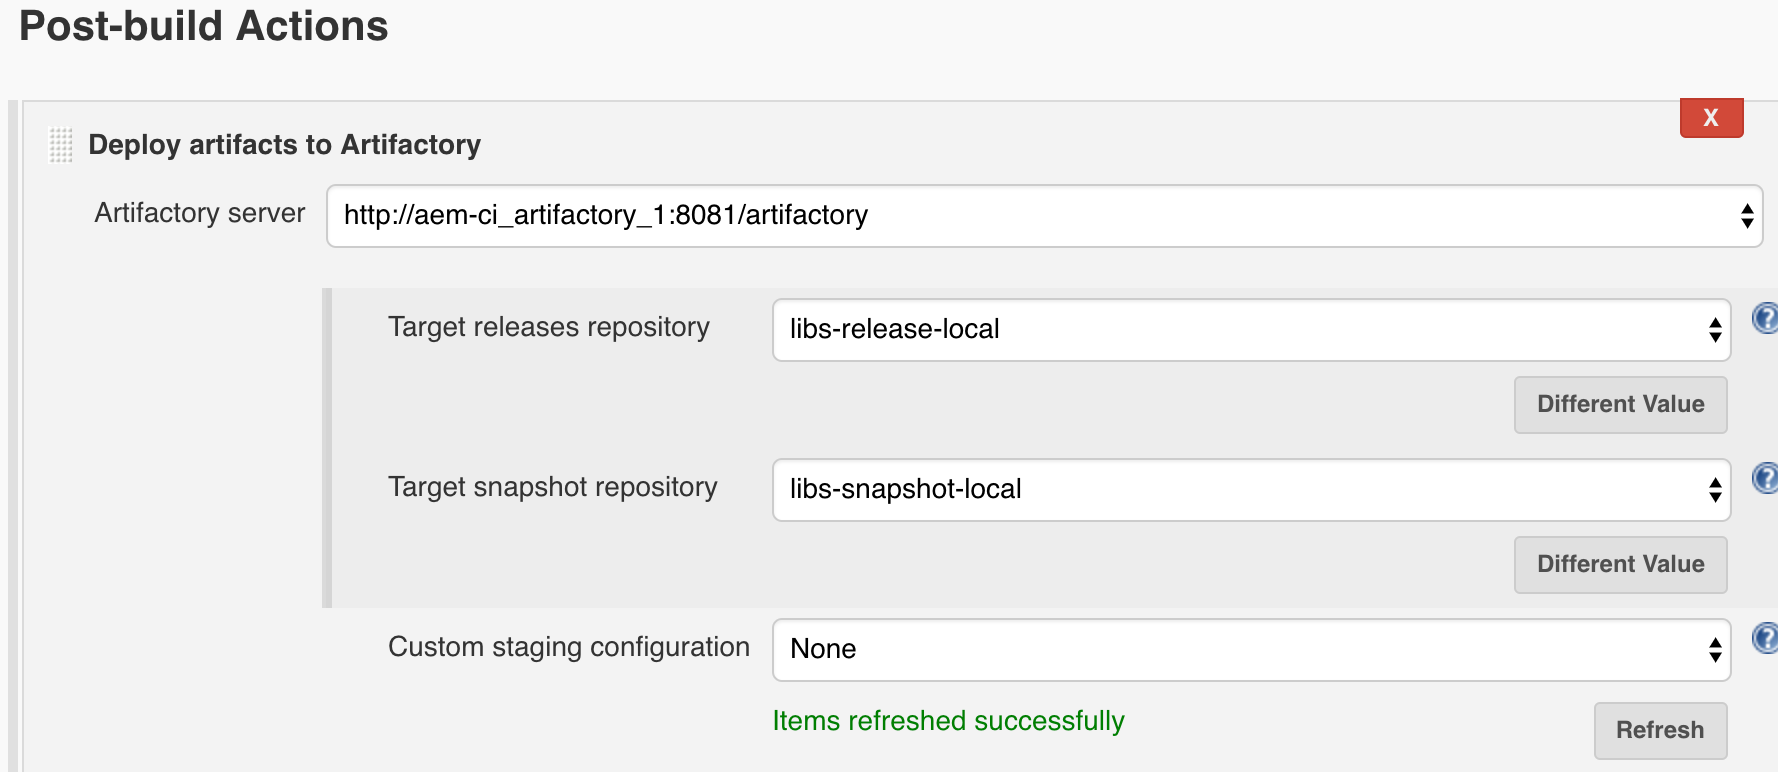
Save the job.
Finally! We have everything we need to kick off our first AEM build. In the job’s page, click on Build Now. You will see a job get queued. As the job execute you can navigate its Workspace to see the Git code that was pulled or the Console Output. You’ll notice that it is downloading dependencies from Artifactory, and in turn Artifactory is downloaded them from either jcenter or adobe-public, and caching them. On subsequent builds, the process should be faster.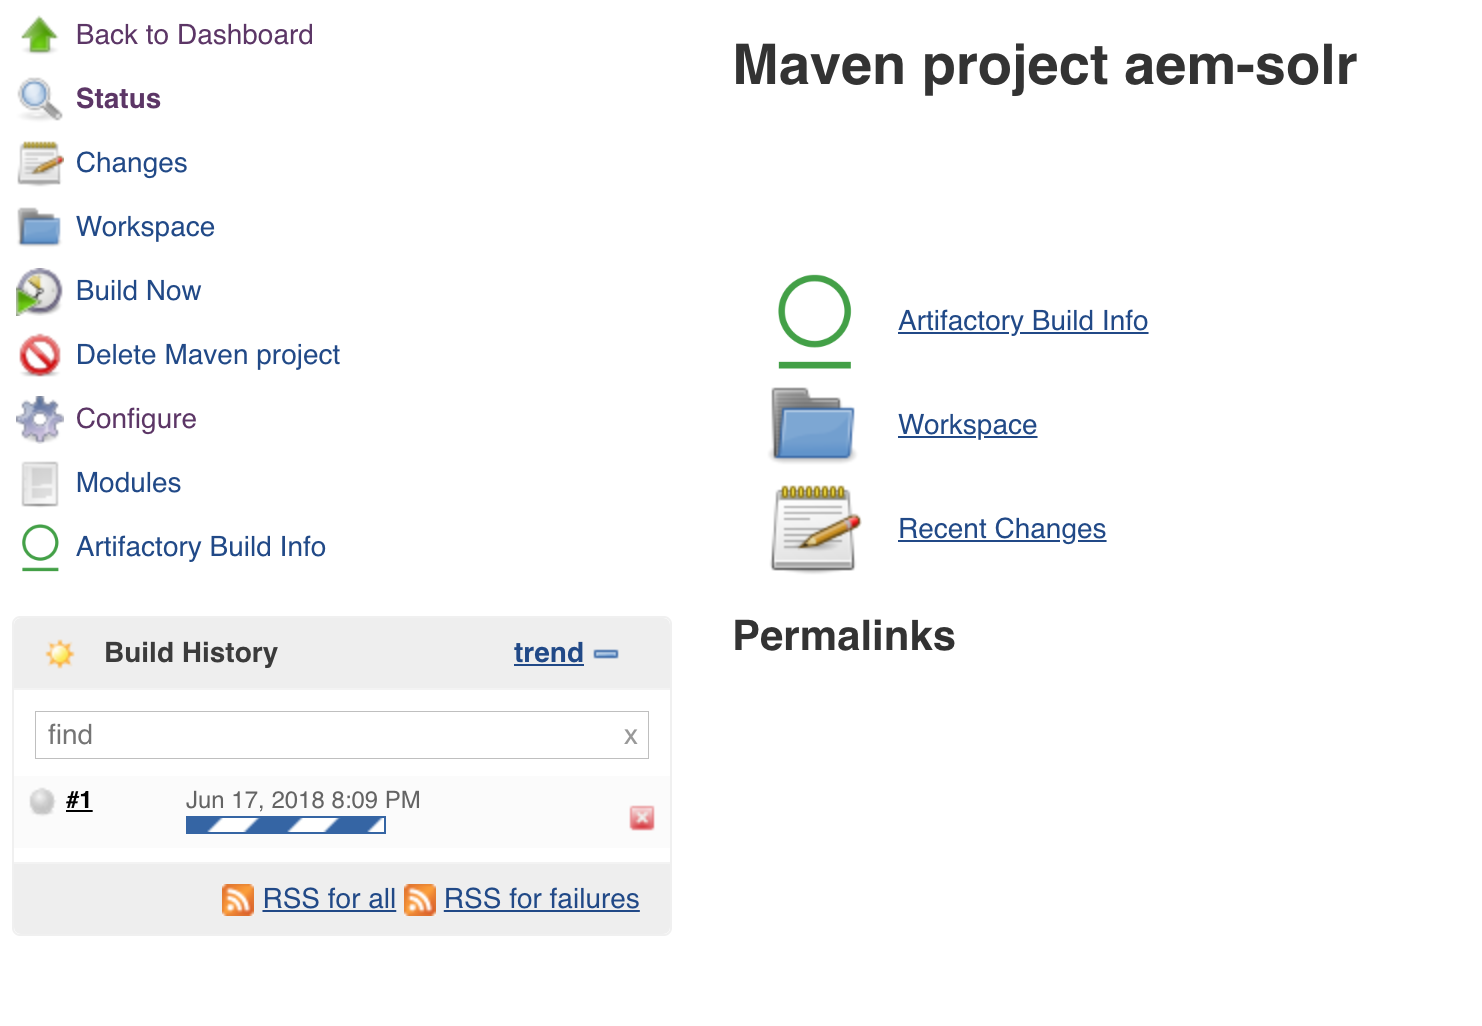
Conclusion
Now you have a CI environment set up and are free to experiment. The job that we have set up is a traditional job. In the upcoming post, we’ll use Jenkins pipelines to build/deploy/release and point out the pros and cons of Pipelines vs traditional jobs.

No comments:
Post a Comment
If you have any doubts or questions, please let us know.